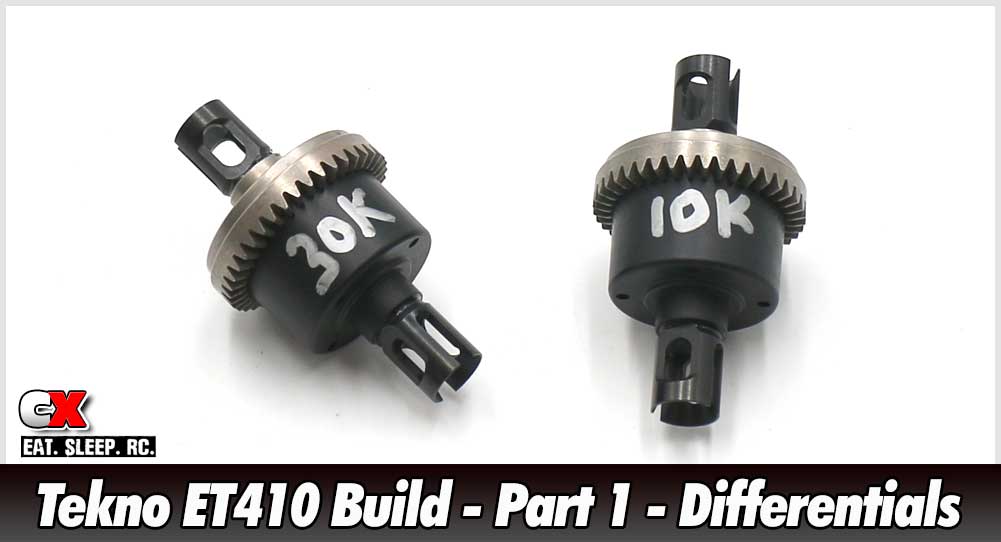
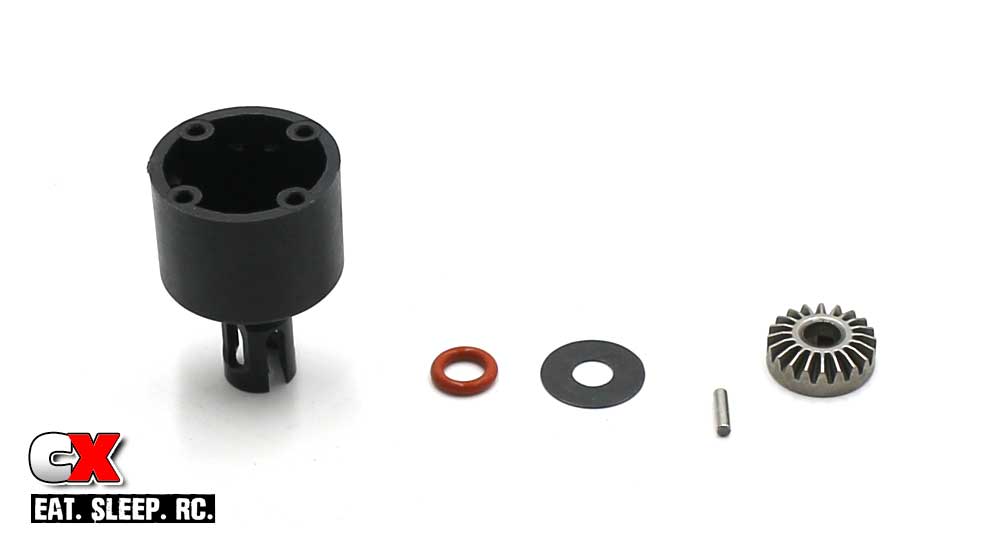
Tekno’s ET410 comes equipped with 3 high-quality fluid-filled gear differentials. The front and rear use steel gears while the center (spur gear) comes with a strong molded plastic gear.
 In this step we’ll be working with greases and diff fluids. Be prepared with some clean rags or towels to help clean up any mess.
 We’ll be building 3 differentials, all of which go together almost exactly alike. The first one will be a detailed walkthrough, the other two more of a refresher. If you have any issues with the latter 2, just refer back to Steps 1-7.
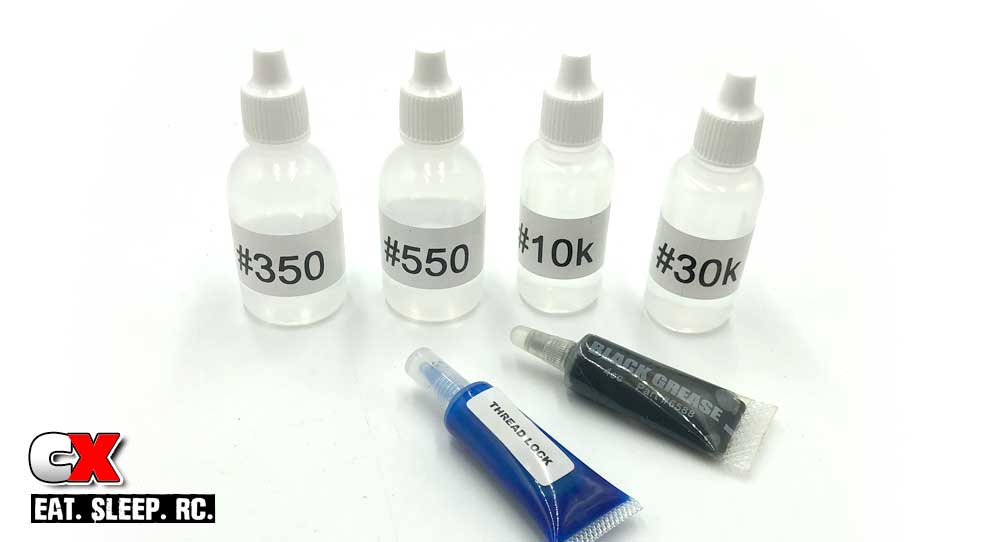
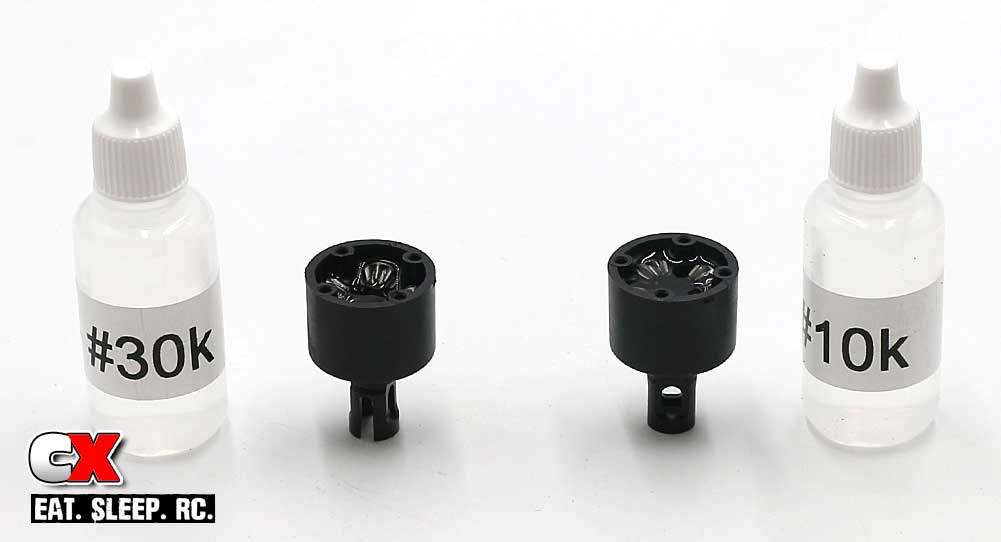
Before we get into the build, let’s take a quick look at the fluids Tekno supplies in the box. There are 4 small bottles: #350, #550, #10K and #30K. The #350 and #550 (aka 30wt/50wt) are used for the shocks; you can set those aside for now. The #10K and #30K are for the differentials and used in this step.
Tekno also includes a tube of Threadlocking compound and Black Grease. You might just want to keep these handy as well.
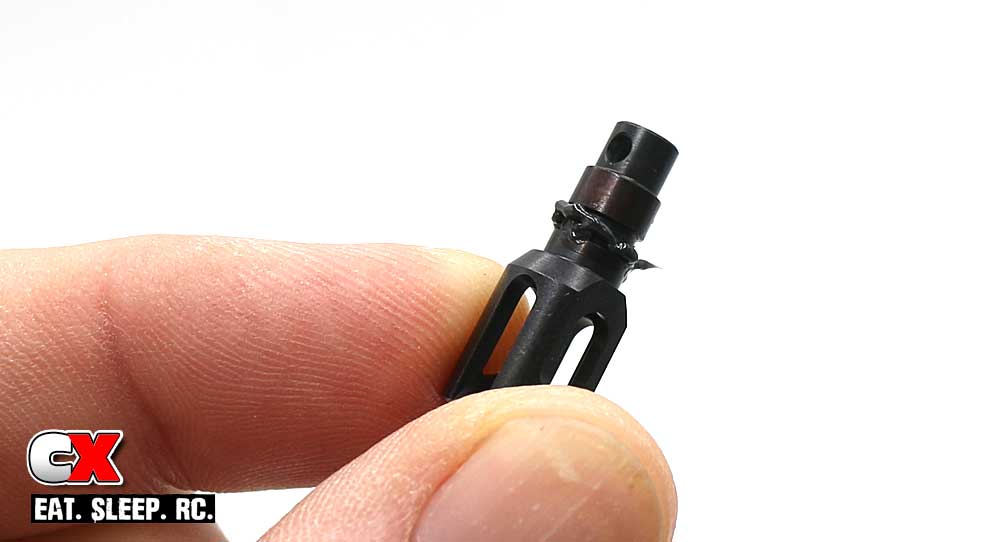
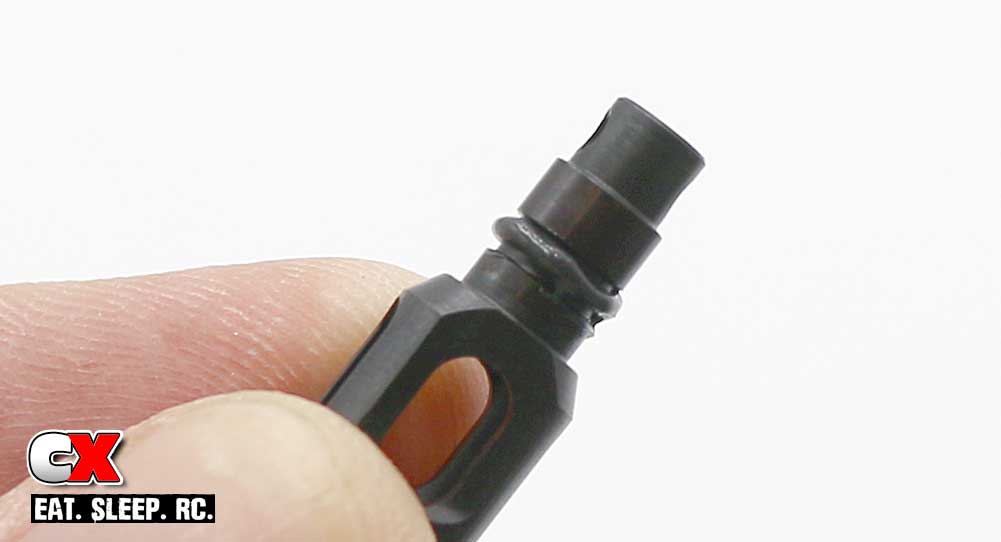
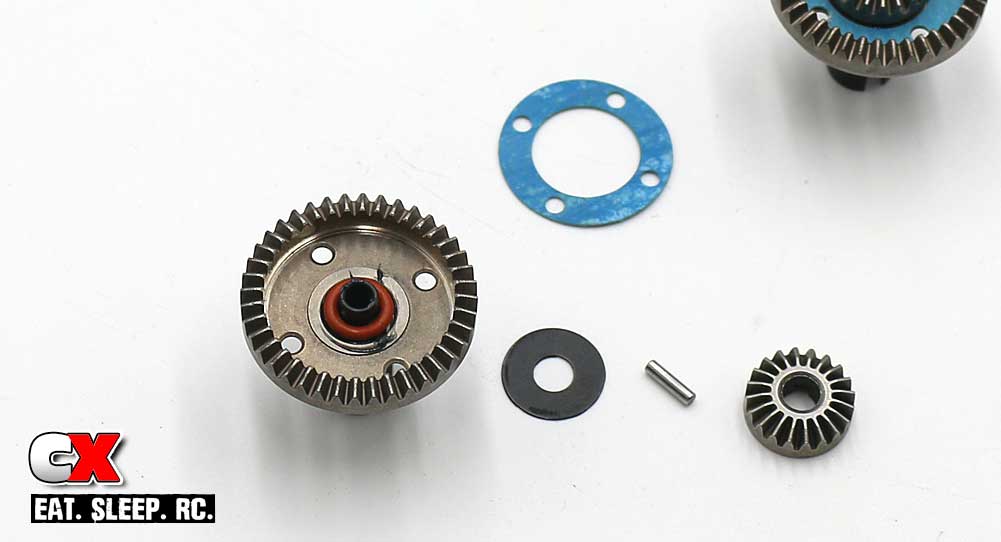
The first thing we need to do is apply a small bead of black grease to the groove on one of the outdrives as shown. More is better than less here.
Slide the outdrive through the diff housing from the outside, then (from the inside) create a small bead of black grease around the outdrive. Slip the red o-ring and washer over the outdrive and press down until the washer is flat with the bottom of the diff housing. Slide the drive pin through the hole in the outdrive, then key the satellite gear to the drive pin.
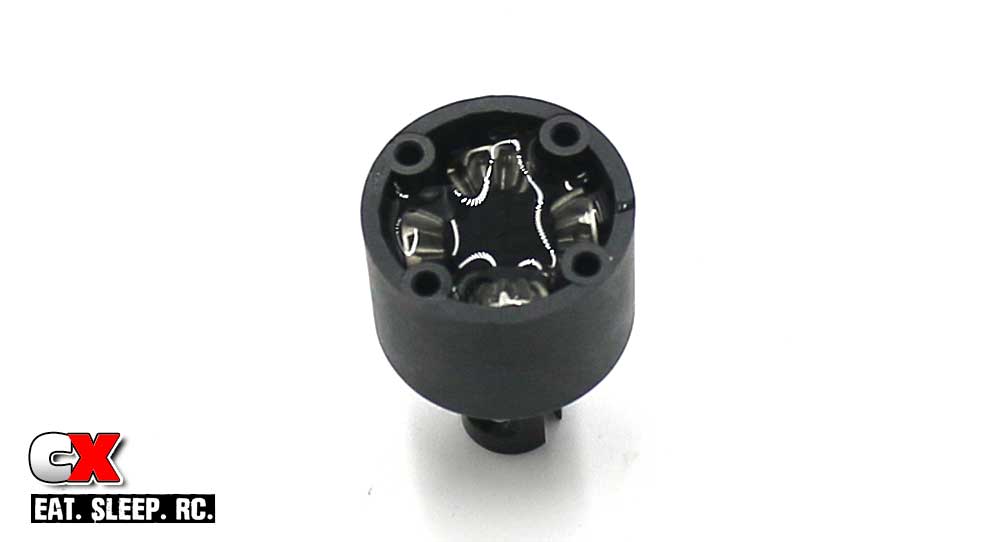
Your completed assembly should look like this.

Grab another outdrive and apply a bead of black grease to the groove (as you did in Step 1). Press it through the diff gear, then apply another small bead of black grease followed by the red o-ring, washer and drive pin. Slip the blue diff gasket into place, making sure the holes in the gasket line up with the holes in the diff gear. Finally, slip the satellite gear into place, keying it to the drive pin.
Tech Note: To help keep the satellite gear in place, add a smidge of black grease to the drive pin.
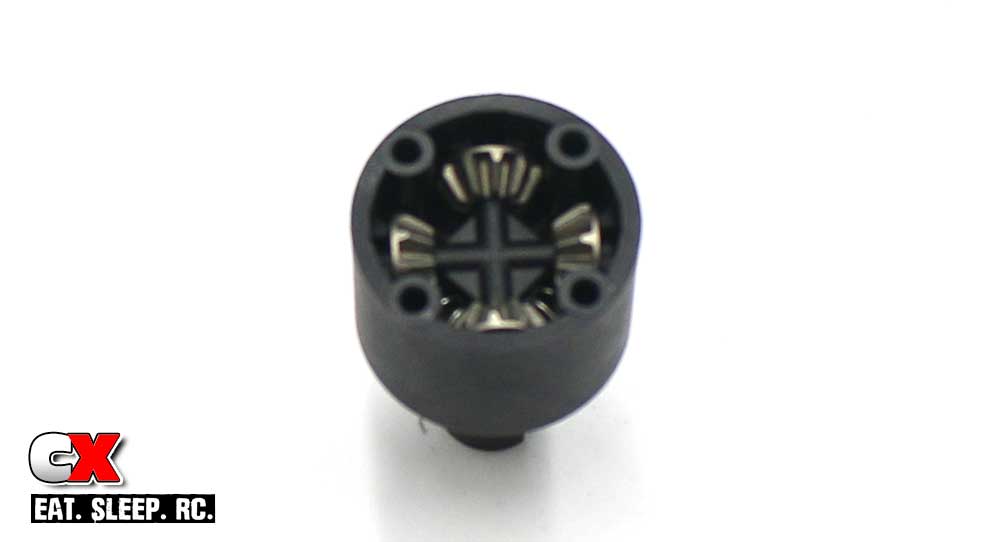
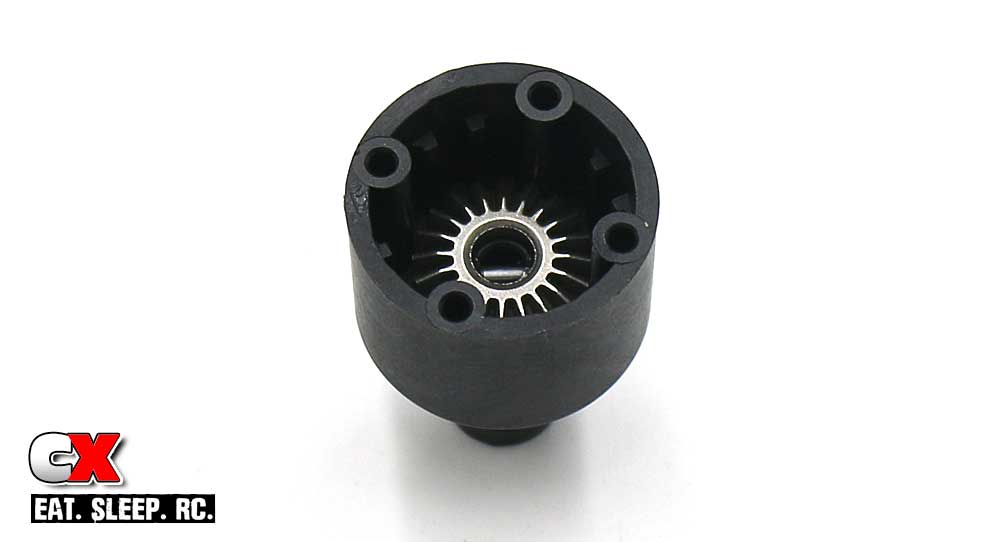
Build the smaller satellite gear assembly and drop down into the diff housing. Give the outdrive a slight turn to make sure all of the gears are correctly meshed.
Grab the #30K diff fluid and fill up the housing to just above the satellite gears. Let it sit for a few minutes, then double check it. Most likely the fluid will have seeped and settled, leaving the fluid height below the top of the satellite gears. Refill (if necessary) to just above the top of the satellite gears.
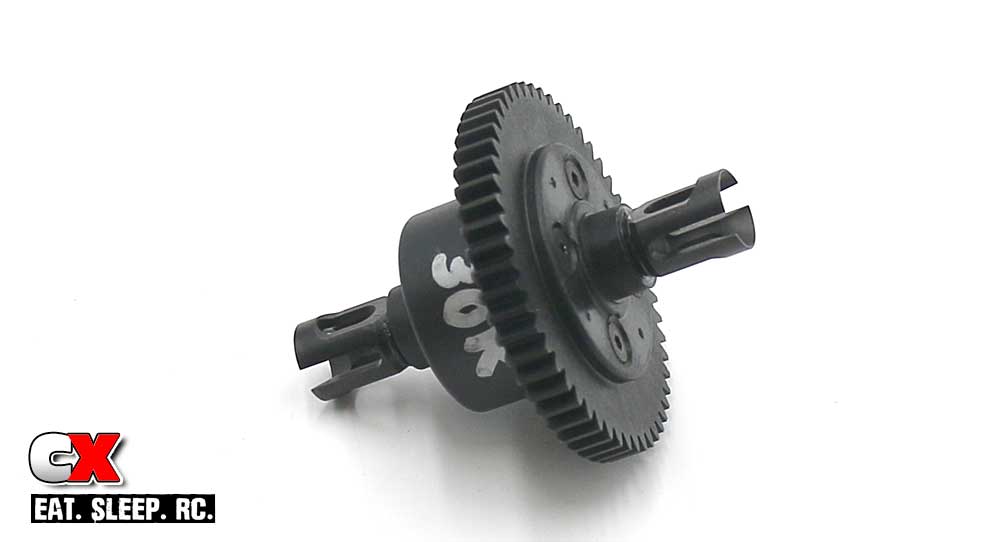
Mate the two diff halves together and, while pressing together, rotate one outdrive to make sure the gears inside mesh correctly. Once completely pressed together, secure with the M2.5x10mm screws.
To keep track of what fluid is in the diff, write it on the outside with a silver Sharpie.
On to the front and rear diffs. Again, these build almost exactly like the center diff, so this part of the build will be a little more condensed.
Apply a bead of black grease to the groove in one of the outdrives.
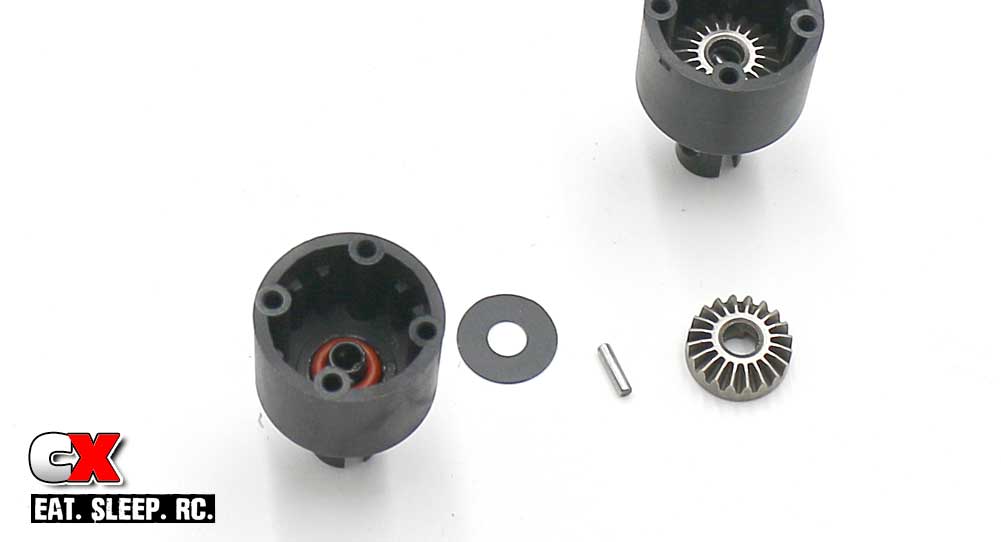
Slide it through the housing, add another small bead of black grease, insert the red o-ring, washer, diff pin and satellite gear.
Grease the groove on another outdrive, slide into the steel outdrive gear, more grease, red o-ring, washer, diff pin and satellite gear. Don’t forget to press the blue gasket into place and line up the holes.
Build the smaller satellite gear assembly and slide into the diff housing (don’t forget to check the mesh). In the front diff, fill it (like you did in Step 6) with #30K, the rear diff with #10K. Let them sit for a second and refill if necessary.
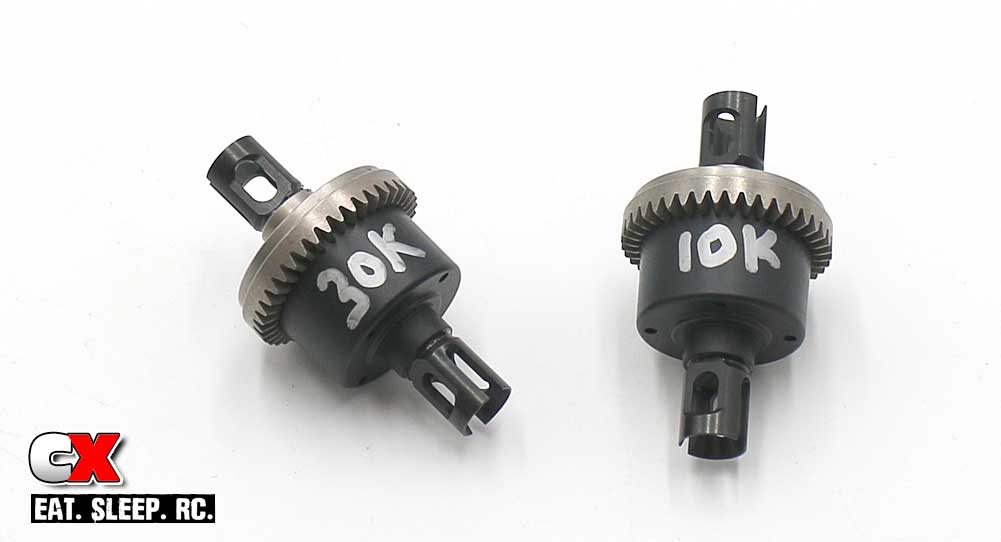
Finally, mate the two halves, check the mesh of the internal gears (as you did in Step 7) and secure with the M2.5x10mm screws. Make sure you write the correct fluid on the correct diff.
Clean up any excess fluid with a rag and some motor spray, set the diffs aside and let’s move on to the next step!
Tekno ET410 Truggy Build – Opening Page
Tekno ET410 Truggy Build – Part 1 – Differentials
Tekno ET410 Truggy Build – Part 2 – Front Bulkhead
Tekno ET410 Truggy Build – Part 3 – Rear Bulkhead
Tekno ET410 Truggy Build – Part 4 – Rear Suspension
Tekno ET410 Truggy Build – Part 5 – Front Suspension
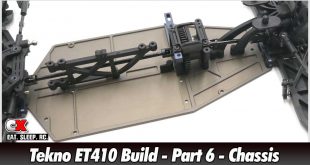
Tekno ET410 Truggy Build – Part 6 – Chassis Assembly
Tekno ET410 Truggy Build – Part 7 – Shocks
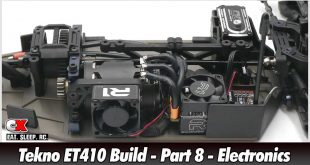
Tekno ET410 Truggy Build – Part 8 – Electronics
Tekno ET410 Truggy Build – Part 9 – Final Assembly