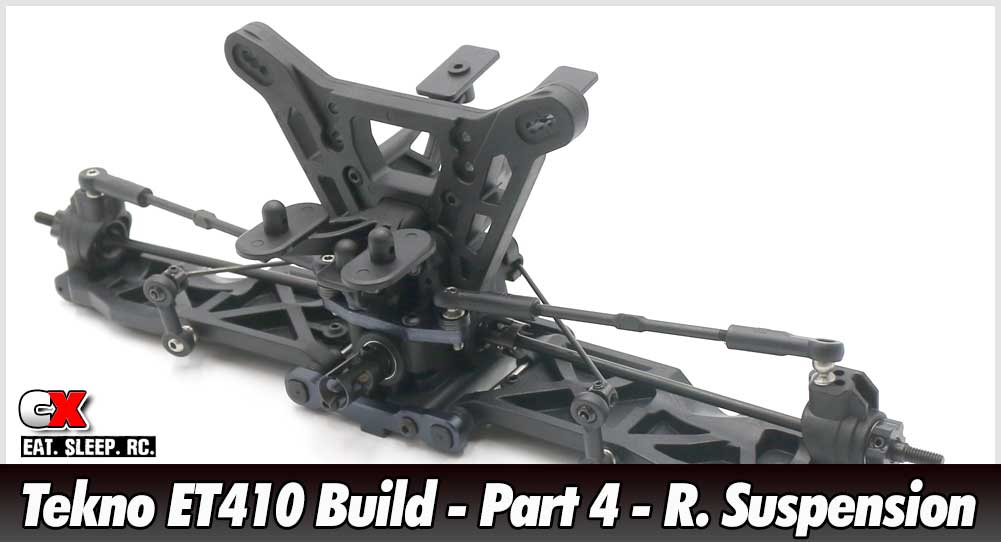
The suspension on the Tekno ET410 is about as beefy as you can get on a 1:10 scale truck. Thick a-arms, aluminum arm mounts and a full set of anti-roll bars are all standard features, as is the incredible amount of tuning options to help lock the ET410 in at whichever track you choose to run.
 In this step, there are two different length setscrews; a 3mm and a 4mm. Make sure, in Step 11, you are using the 3mm setscrew. If you use the 4mm one, your wheels will not fit on the hexes.
When attaching the turnbuckles, make sure the ‘notch’ is to the left side of the car. If all of the notches are to the left, it makes it easy to understand which way to twist the turnbuckle to make adjustments.
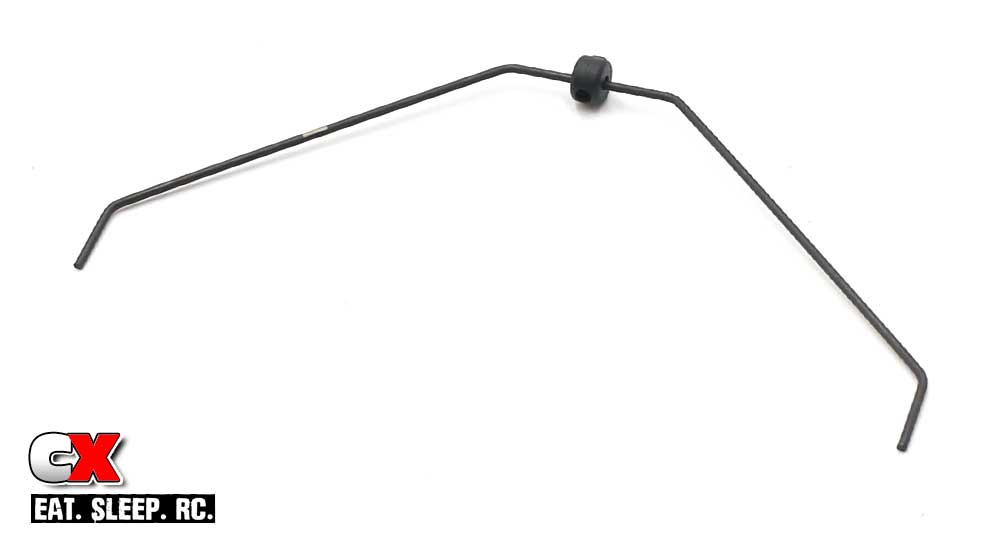
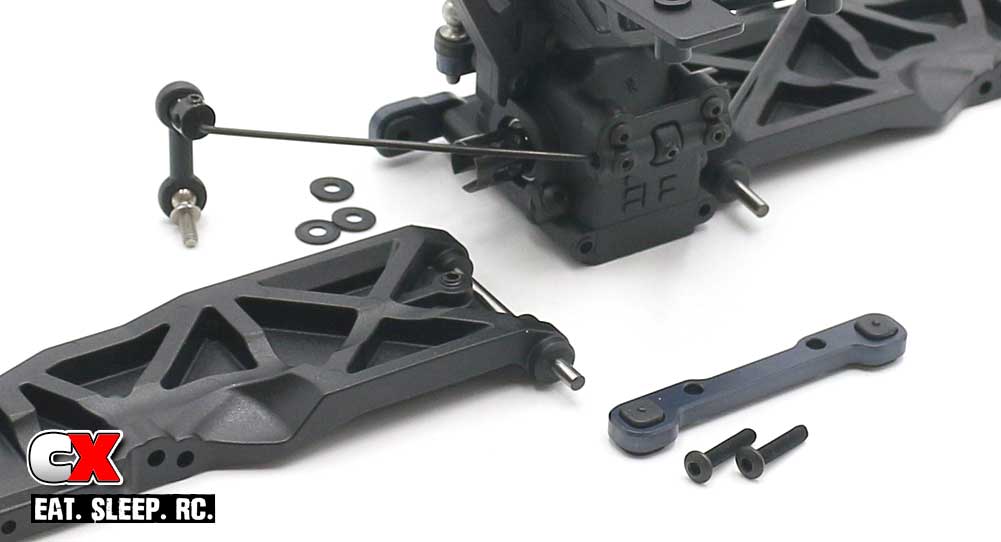
Let’s start this step off with the assembly of the rear anti-roll bar. Slide the plastic piece onto the bar and lock in place with the M3x4mm setscrew. Center it on the bar; you can do a final adjustment in Step 3.

Attach the aluminum anti-roll bar ends on the bar, locking in place with the M3x4mm setscrew. A little dab of blue threadlocker is suggested here. Snap the anti-roll bar links onto the aluminum ends.
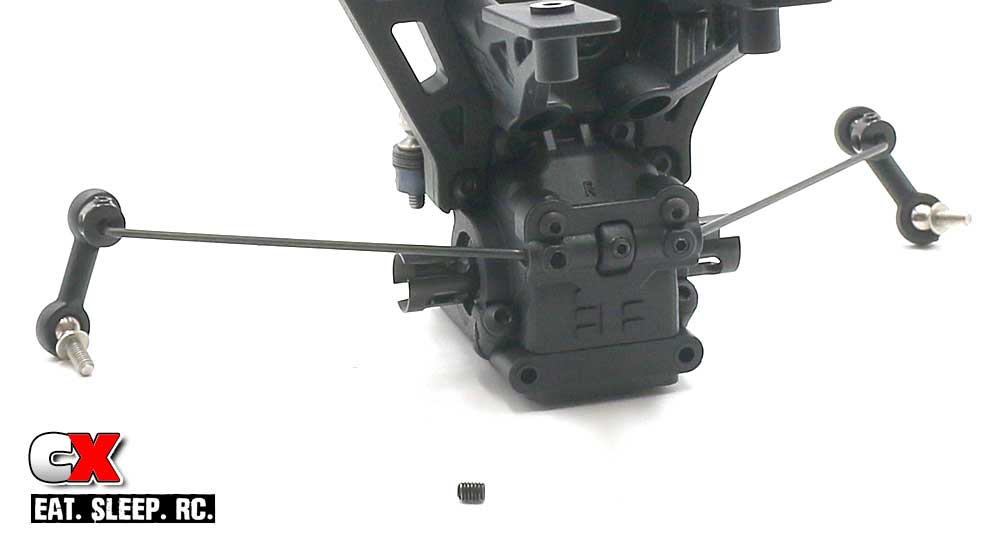
Attach your anti-roll bar assembly to the rear bulkhead (here is where you want to make sure the plastic piece is centered on the bar).
Feed the M3x4mm setscrews into the holes and tighten until they hit the bar, then back them out a 1/8 turn. You want them almost touching the bar but not to the point of hindering its movement.
Take this time to snap the ballstuds into the lower part of the anti-roll bar links as well.
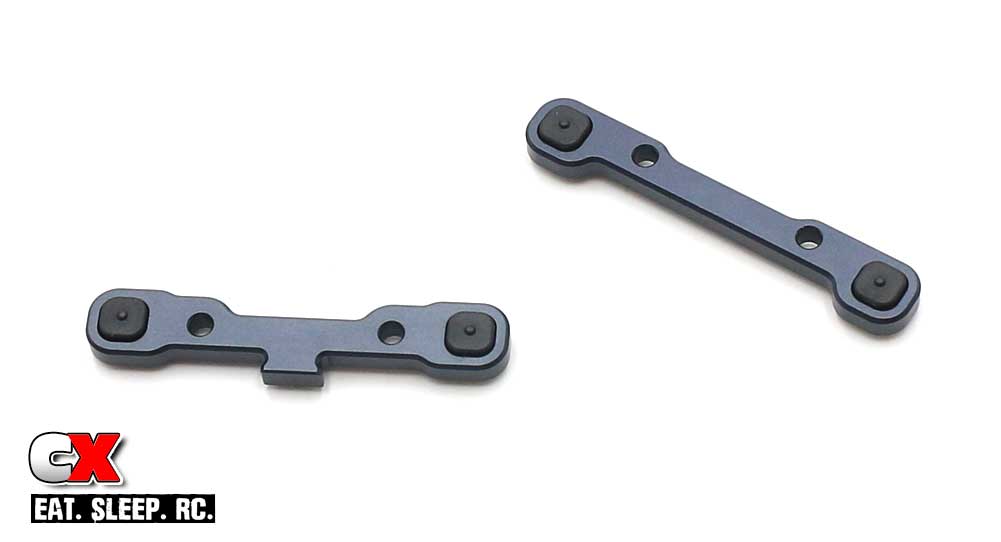
Shown are both of the rear aluminum arm mounts; the one on the left is the ‘C’ block (in front of the rear arms), the one on the right is the ‘D’ block (the one behind the rear arms). Don’t mix them up.
The manual has us starting out with the ‘center dot’ pills, so grab four off the tree and install them as shown.
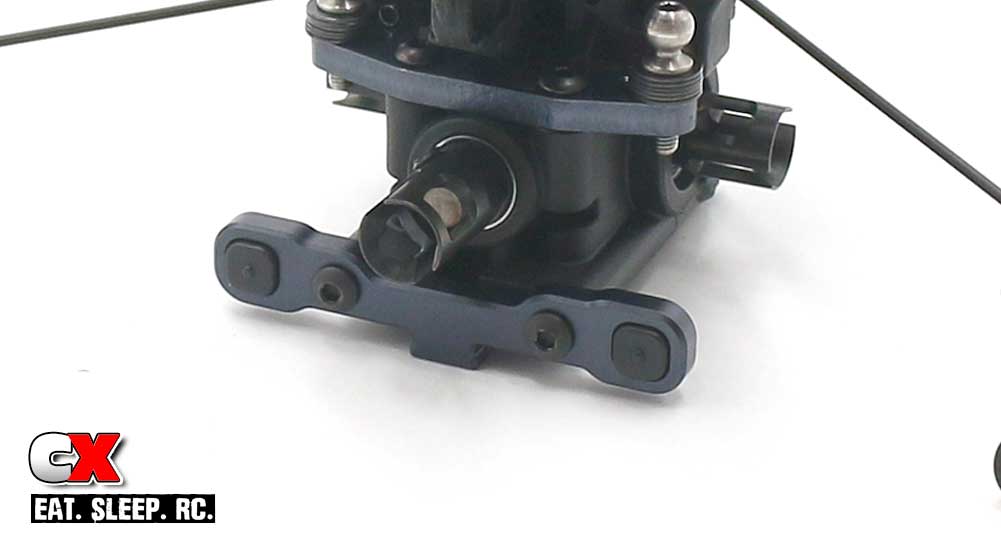
Attach the ‘C’ block to the rear bulkhead.
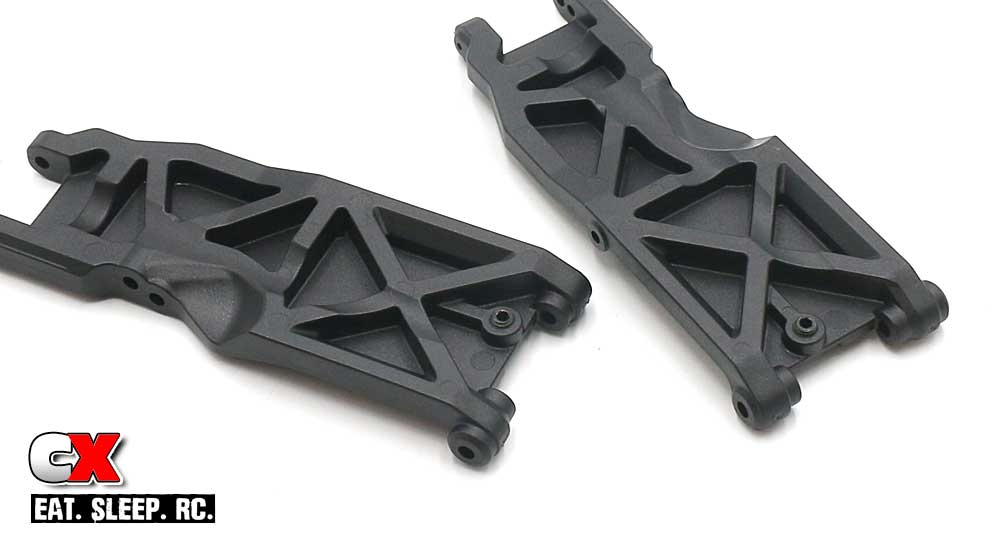
Feed the M4x8mm Droop screws into the rear arms. Don’t worry about them being perfect just yet; you can make final adjustments at the end of the build.
Press the hinge pins into the ‘C’ block. Slide 3 wheelbase shims (2 thin, 1 thick) onto the hinge pin followed by the suspension arm (note the orientation of the arm). Key the ‘D’ block to the hinge pins and press into place, securing it with the M3x14mm screws.
Once tightened, make sure the arms have free up and down movement. If not, give a light tap on the arms to help ‘press’ the pills and spacers into place. You may have to do this in both directions.
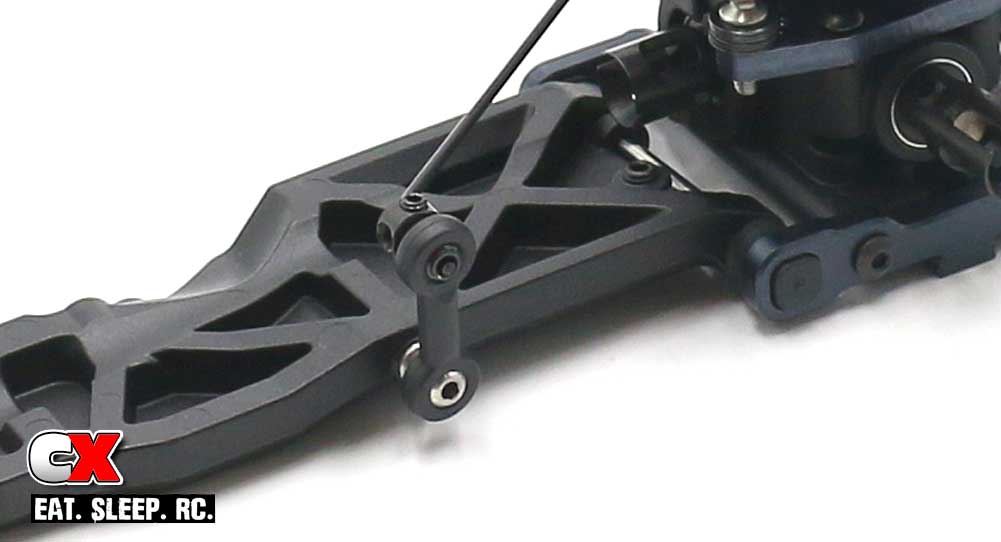
Connect the anti-roll bar ballstud to the arm.
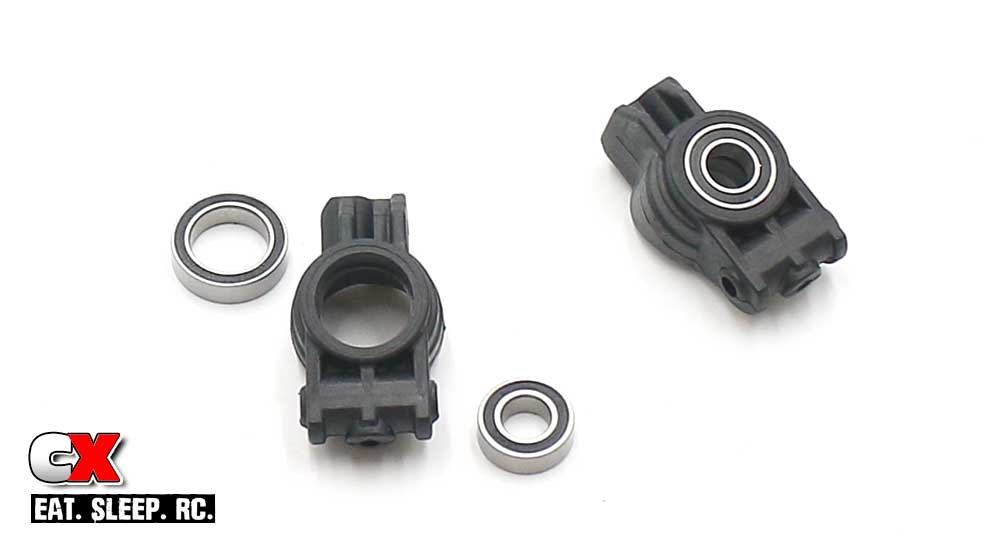
Press the bearings into the rear hubs.
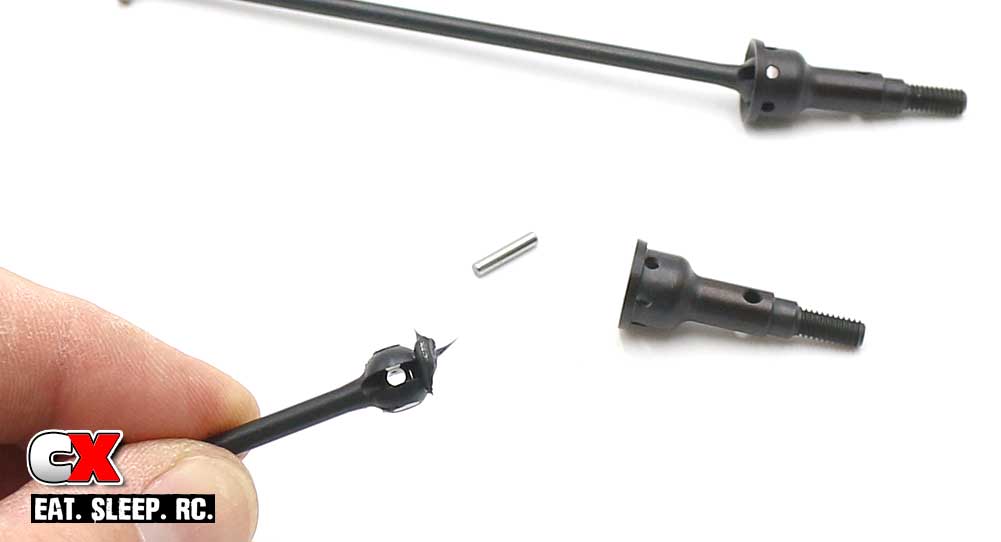
Assemble the axles. Place a small amount of black grease as shown before assembly. This will help keep everything well lubed.
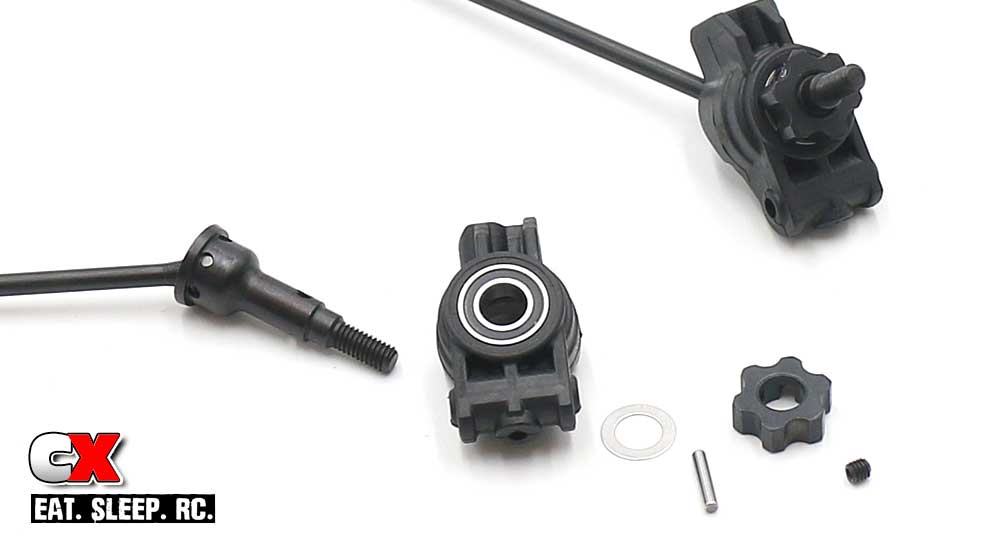
Slide your axle assembly though the hub, add the 6×10 shim and the axle pin. Key the wheel hex to the axle pin, press into place and secure with the M3x3mm setscrew.
Tech Note: Make sure you are using the M3x3mm setscrew for this step.
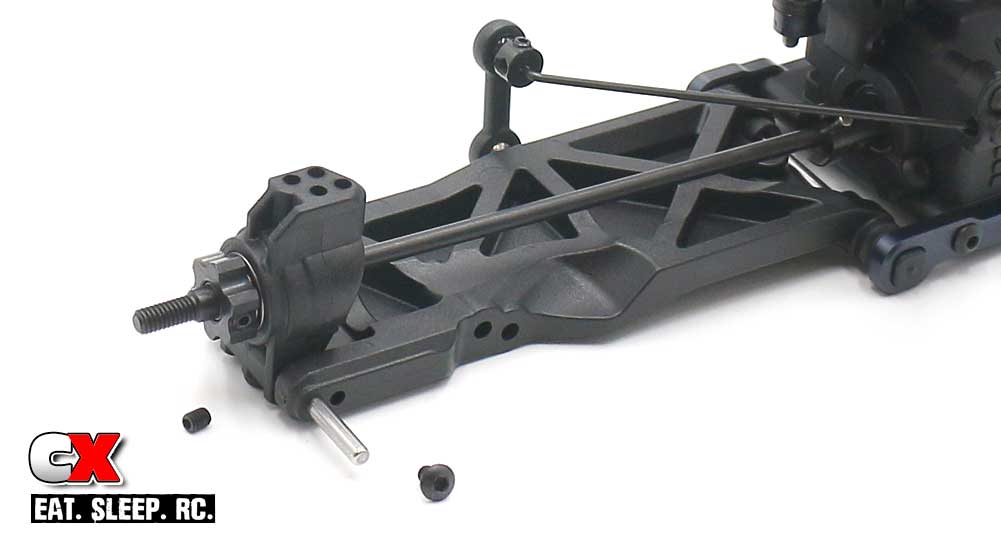
Set the rear hub assembly into place and feed the hinge pin through the arm. Capture it with the M3x4mm screw. You’ll also want to insert the M3x4mm setscrew through the bottom of the hub. Just snug it up – no need to overtighten it.
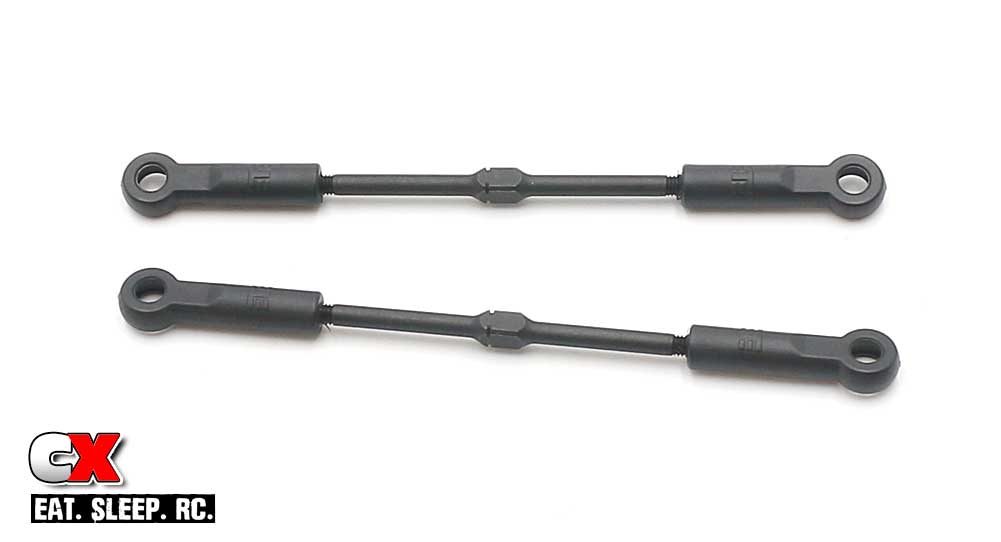
Build your pair of turnbuckles. The suggested lengths are a good starting point.
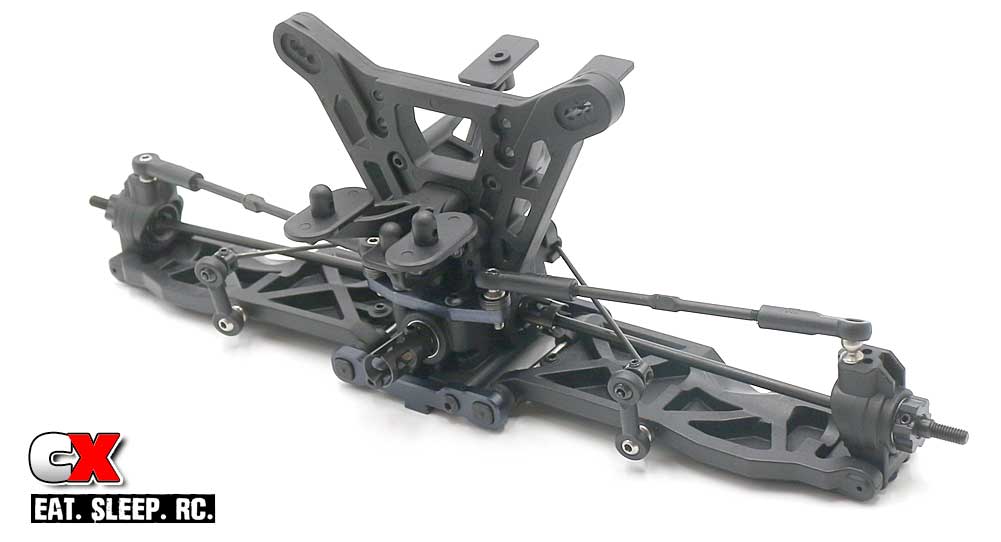
Key the axles to the outdrives on the diff, then pop the turnbuckles into place. Remember, make sure the ‘notch’ in the turnbuckle is to the left side of the ET410.
Excellent work. Clean up your space and let’s move to Part 5, the Front Suspension.
Tekno ET410 Truggy Build – Opening Page
Tekno ET410 Truggy Build – Part 1 – Differentials
Tekno ET410 Truggy Build – Part 2 – Front Bulkhead
Tekno ET410 Truggy Build – Part 3 – Rear Bulkhead
Tekno ET410 Truggy Build – Part 4 – Rear Suspension
Tekno ET410 Truggy Build – Part 5 – Front Suspension
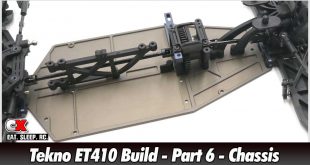
Tekno ET410 Truggy Build – Part 6 – Chassis Assembly
Tekno ET410 Truggy Build – Part 7 – Shocks
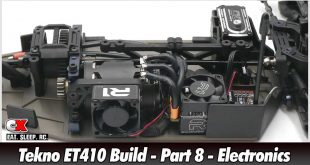
Tekno ET410 Truggy Build – Part 8 – Electronics
Tekno ET410 Truggy Build – Part 9 – Final Assembly