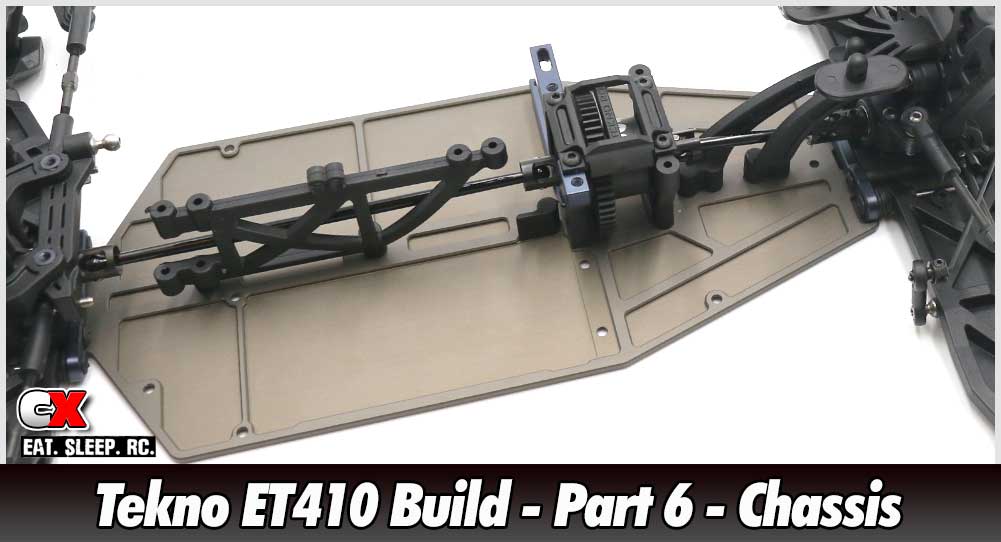
Now that we have the front and rear clips of our Tekno ET410 built, let’s start getting all the bits attached to the chassis.
Speaking of the chassis, Tekno has provided the ET410 with a 3mm, 7075 CNC-machined plate with all kinds of pockets cut into it for weight savings. Beautiful piece for sure!
 Notes
Notes
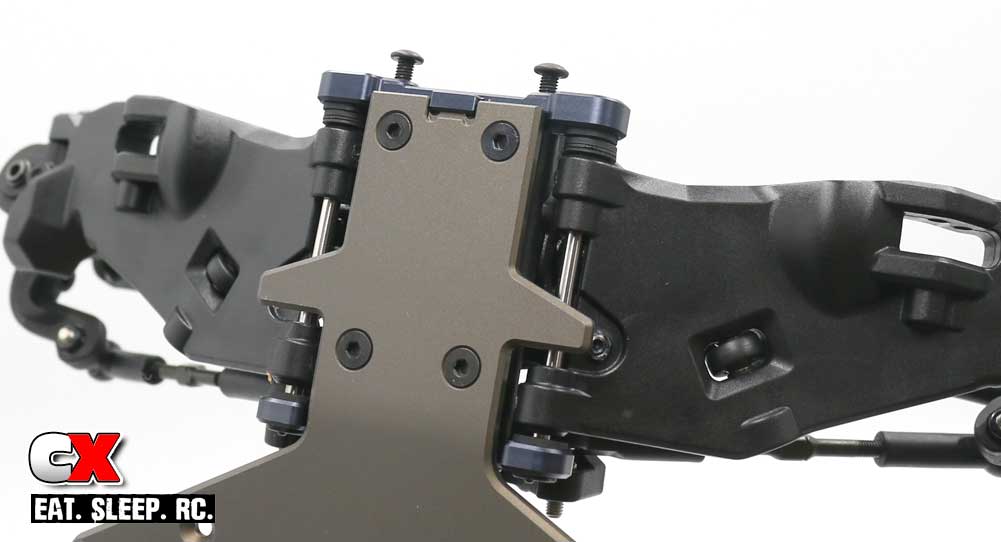
Attach the front clip to the front of the chassis. Now, while this may seem easy, there are a few additional steps that have to be taken.
First, you’ll need to loosen up the ‘A’ mount screws quite a bit, then pull the ‘A’ mount off the hinge pins slightly. Set the front clip onto the chassis and carefully press the ‘A’ mount back in place. Note that the bottom of the ‘A’ mount has a little latch that catches a lip on the chassis; just make sure that the latch is UNDER the lip (see photo).
Once set in place, secure the bulkhead to the chassis. Note the two different screw lengths; 8mm ones up front, 10mm ones near the back.
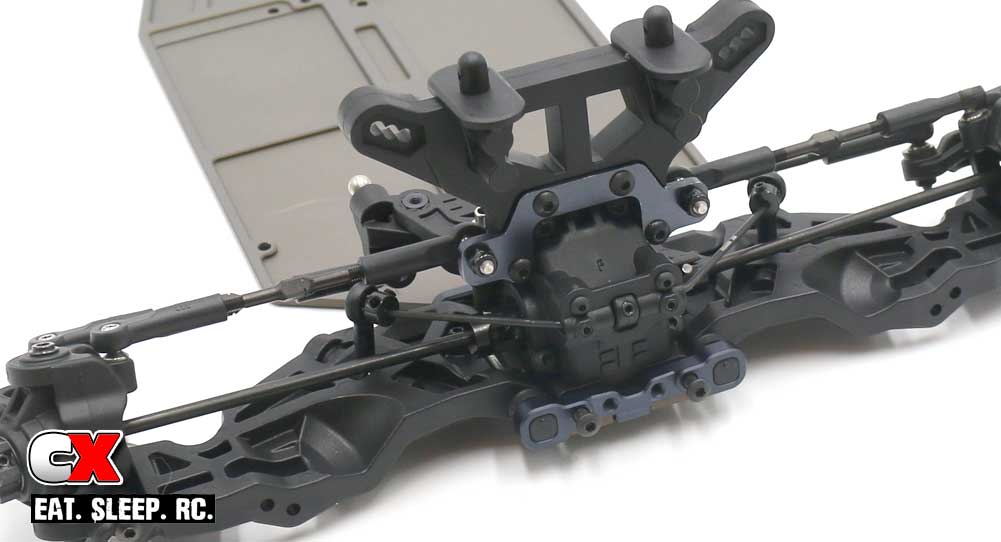
Front clip attached, ready to tighten up the ‘A’ mount screws.
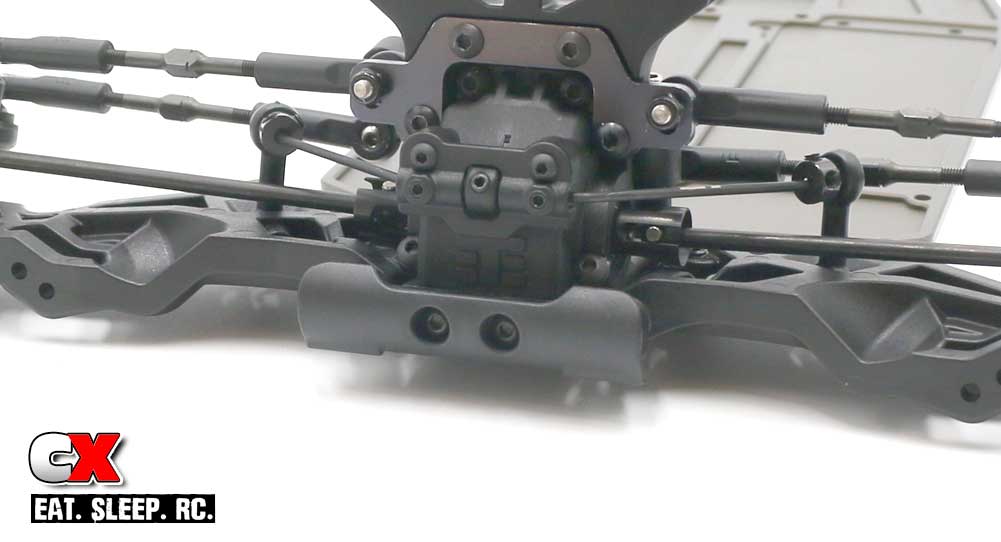
Attach the front bumper.
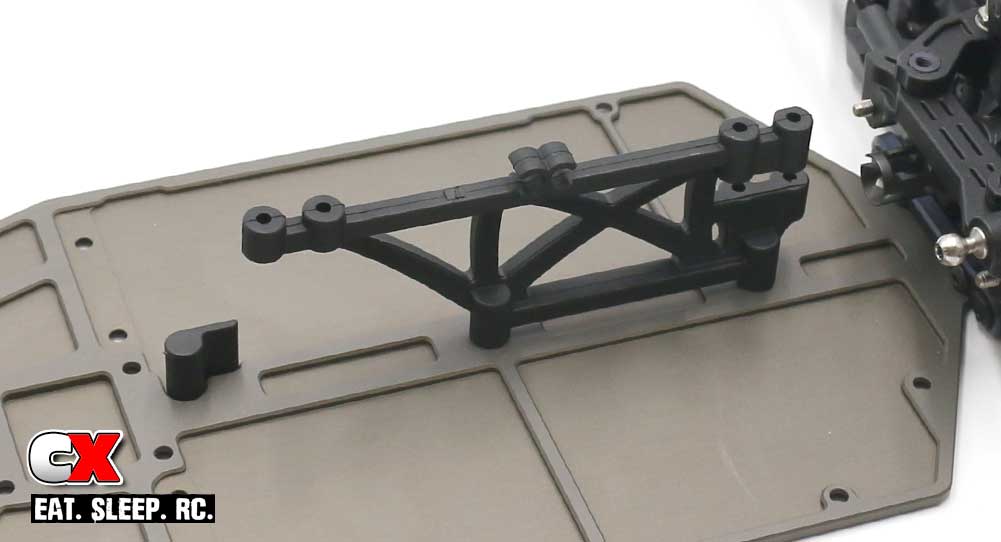
Attach the center brace and battery stop.
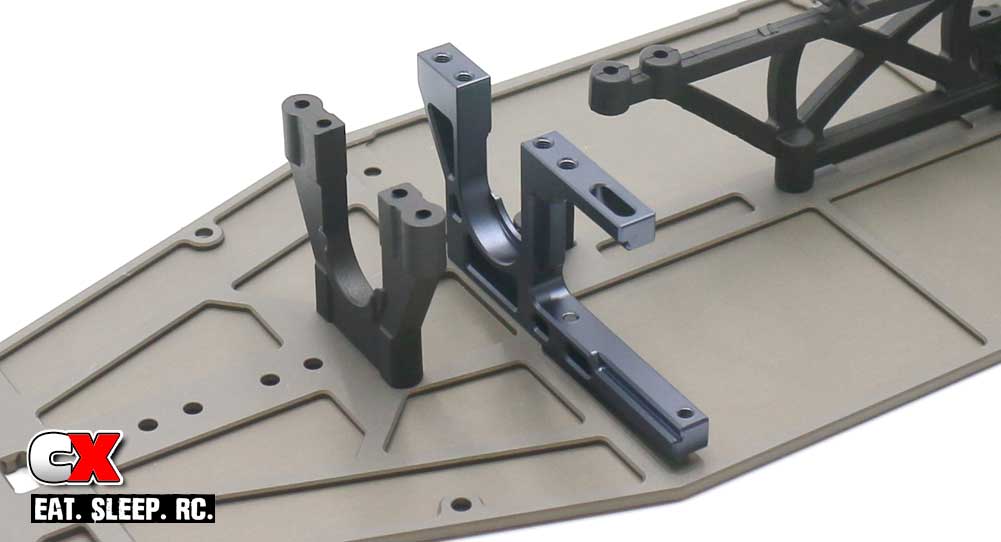
Attach the center bulkhead halves. Note orientation. Blue threadlocker is suggested for the aluminum bulkhead.
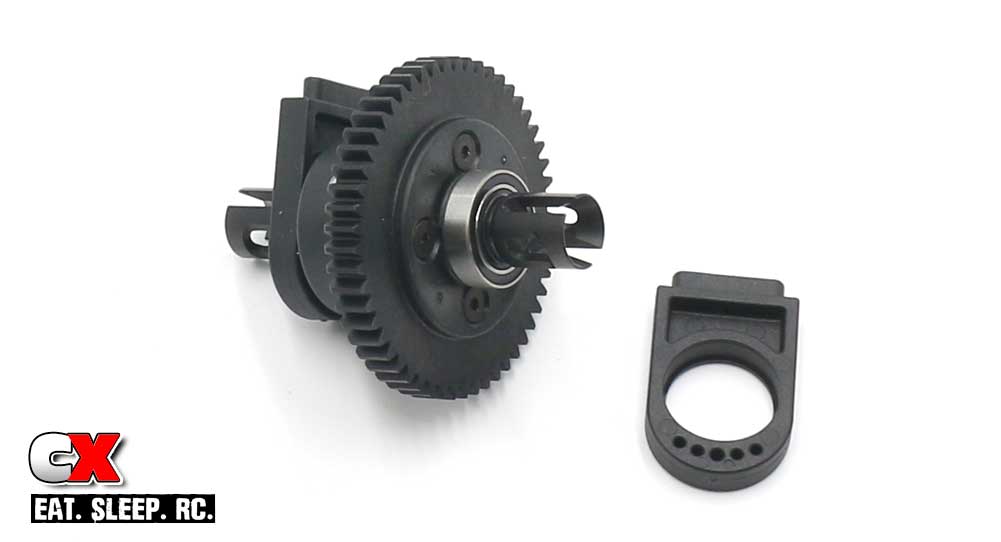
Press the 10×15 bearings into the center diff support, then press onto the center diff. Note the orientation of the supports.
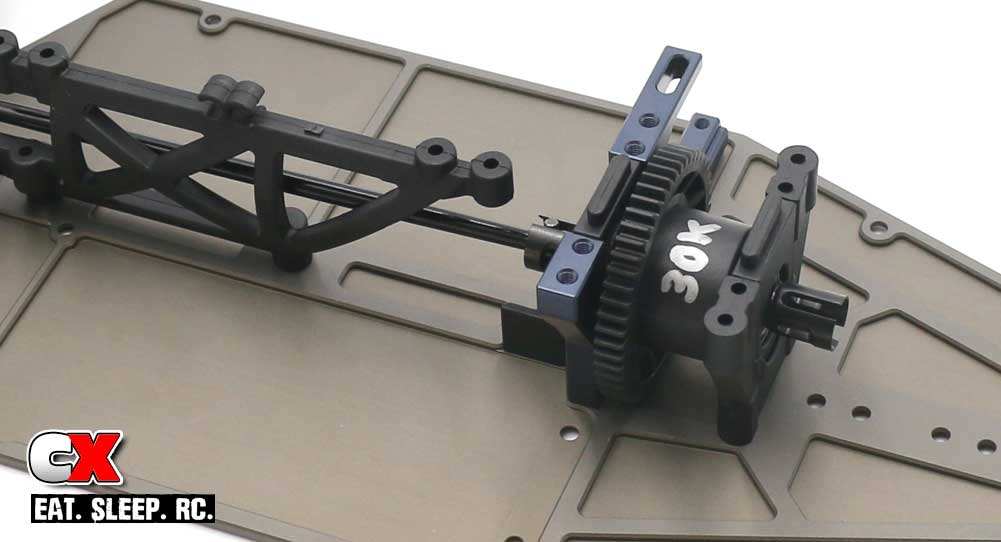
Key the front driveshaft into the front diff output, into the center diff and slide the center diff assembly into the bulkheads. You may need to loosen up the screws to the center chassis brace to make this fit.
Note the orientation of the center diff.
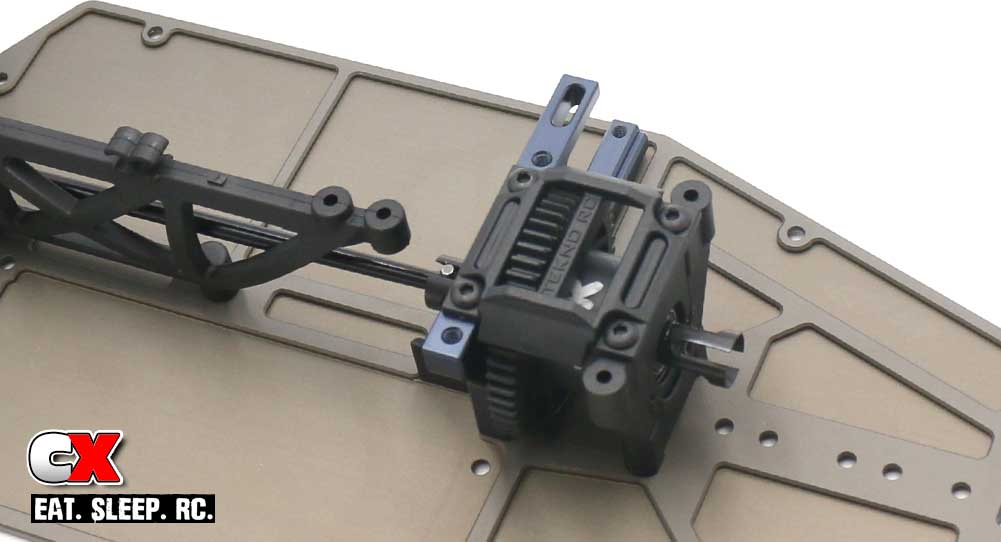
Cap the center diff. Blue threadlocker is suggested on the screws going into the aluminum bulkhead.
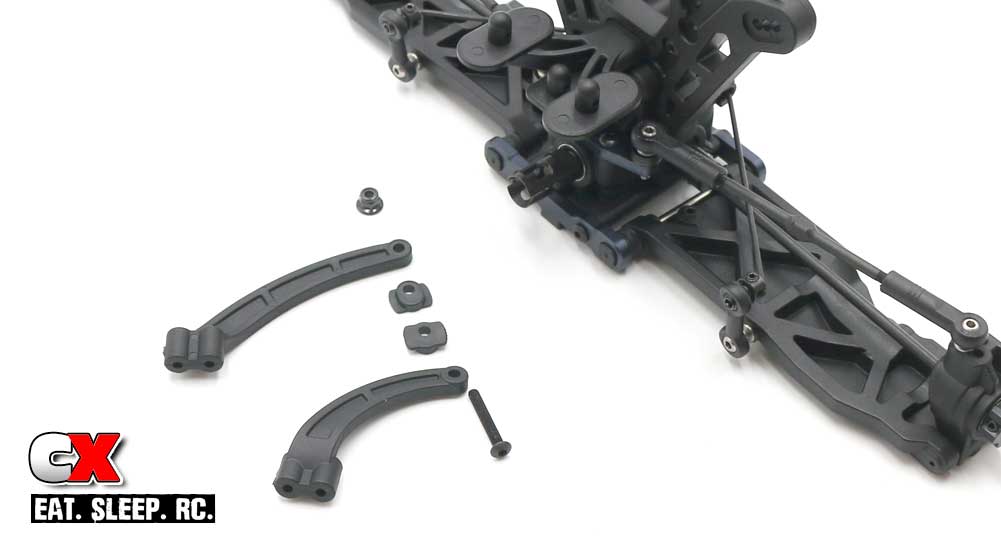
Attach the rear chassis brace. Note the direction of the inserts; hole up.
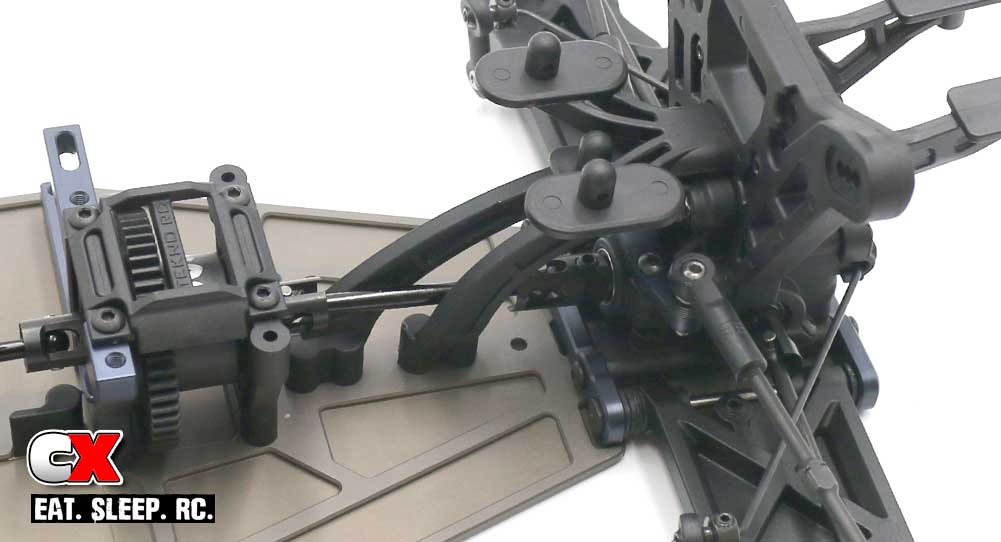
Attach the rear clip assembly to the chassis. Don’t forget to include the rear driveshaft.
Very nice – starting to look like the ET410 now, right? Clean off some space and get some clean towels ready – it’s shock time!
Tekno ET410 Truggy Build – Opening Page
Tekno ET410 Truggy Build – Part 1 – Differentials
Tekno ET410 Truggy Build – Part 2 – Front Bulkhead
Tekno ET410 Truggy Build – Part 3 – Rear Bulkhead
Tekno ET410 Truggy Build – Part 4 – Rear Suspension
Tekno ET410 Truggy Build – Part 5 – Front Suspension
Tekno ET410 Truggy Build – Part 6 – Chassis Assembly
Tekno ET410 Truggy Build – Part 7 – Shocks
Tekno ET410 Truggy Build – Part 8 – Electronics
Tekno ET410 Truggy Build – Part 9 – Final Assembly
 CompetitionX CompetitionX is the most up-to-date source for RC Car News, Reviews and Videos for Radio Control. We also have the most comprehensive Manual Database on the web.


