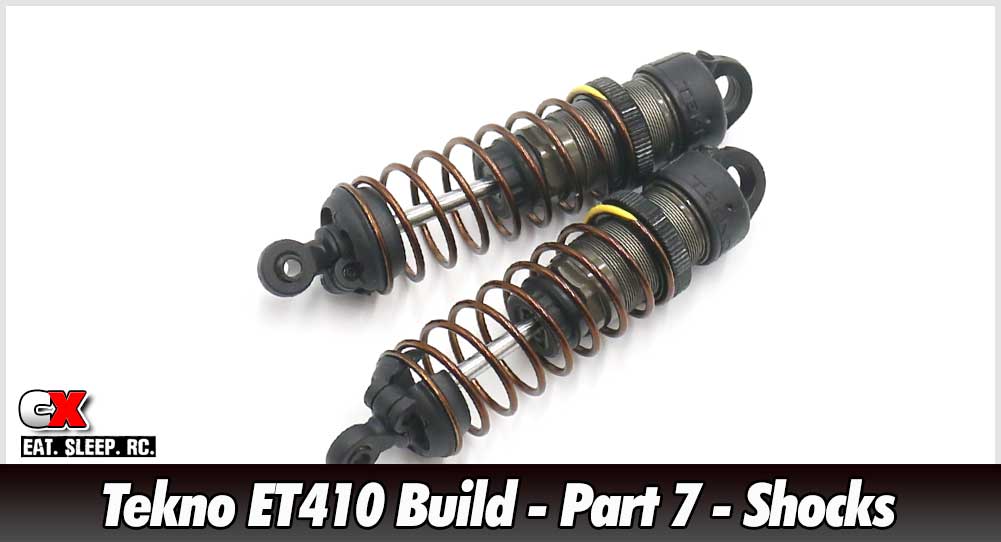
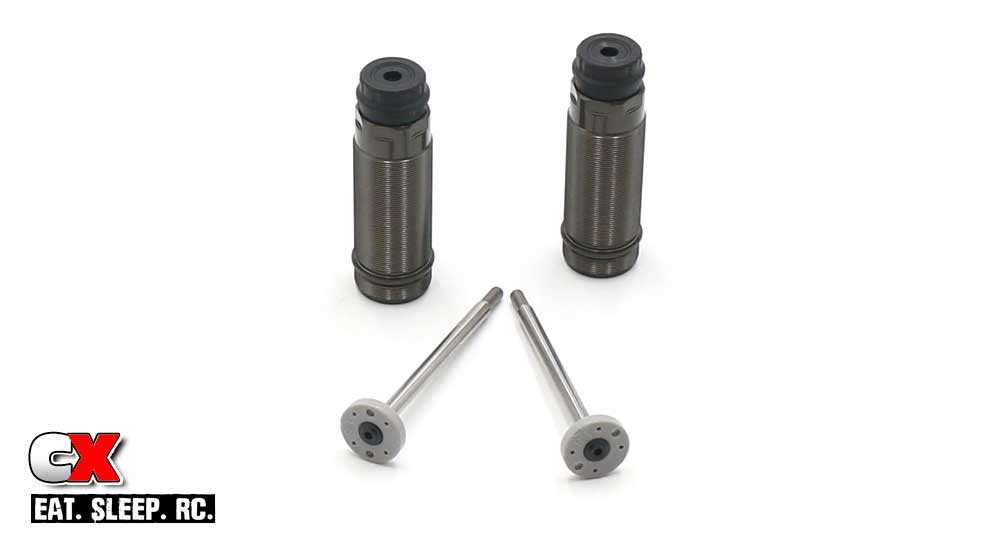
The Tekno ET410 comes with some pretty massive shocks – 13mm hard-anodized threaded shocks to be exact. In addition to their beefy design, they include 3.5mm shafts, dual glide x-ring cartridges and locking spring perches.
 Shock fluid. It’s a messing substance if you spill it. Have a clean, covered work space with some towels or rags for clean up.
You might also want to get your hands on a shock stand, great for setting the open shocks aside while the air bubbles rise from the fluid. Something like this one from ProTek is perfect for this task.
Assemble a pair of shock shafts; a light drop of blue threadlocker is suggested here.
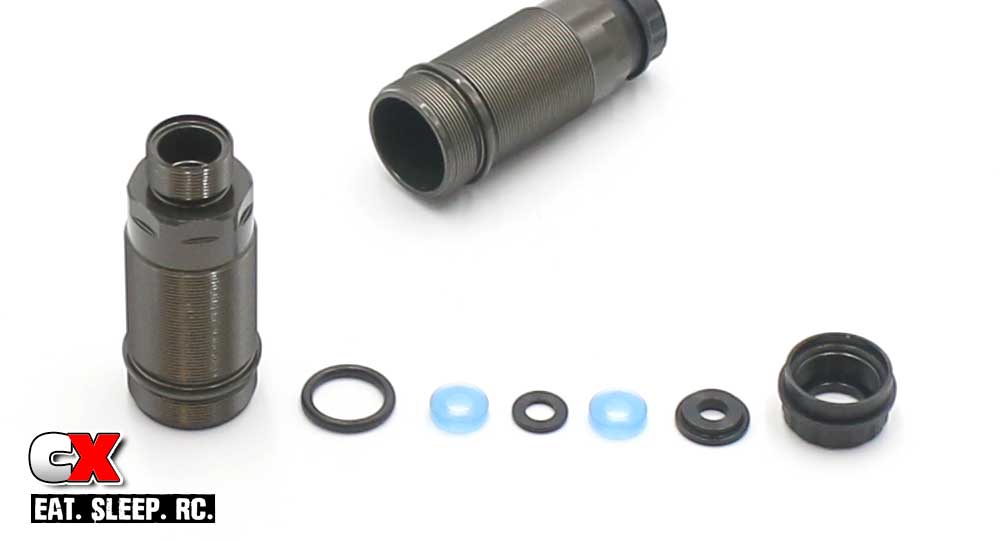
Build the bottom shock cartridge; black o-ring (over the bottom of the shock), blue o-ring (inside) followed by a black spacer, another blue o-ring and bottom plastic cap. Screw on the lower cartridge cap.
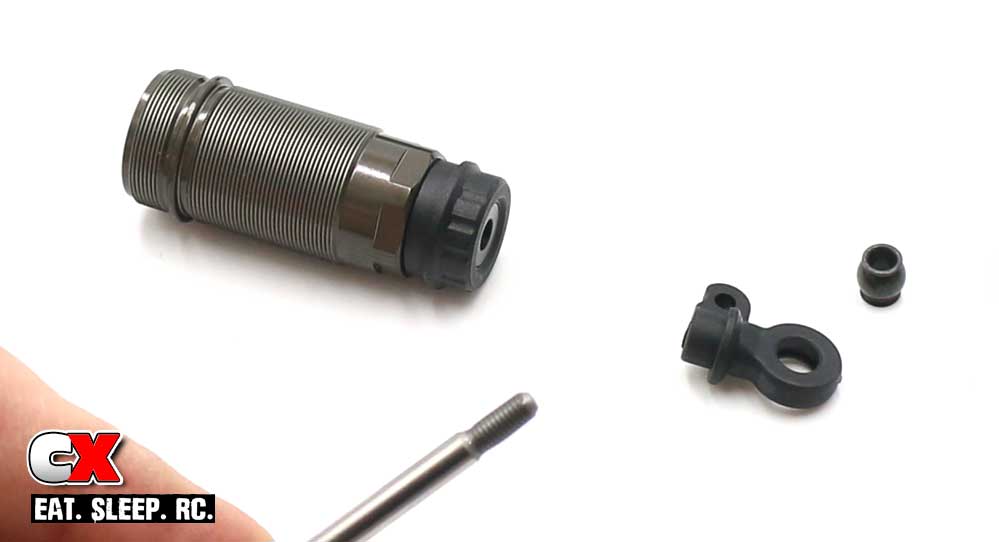
Squeeze a healthy drop of shock oil onto the threads of the shock shaft and slide into the shock. Press slowly so you don’t rip the o-rings. Pop a ball into the shock bottom and screw that assembly onto the shock shaft. Screw on until the threads don’t show.
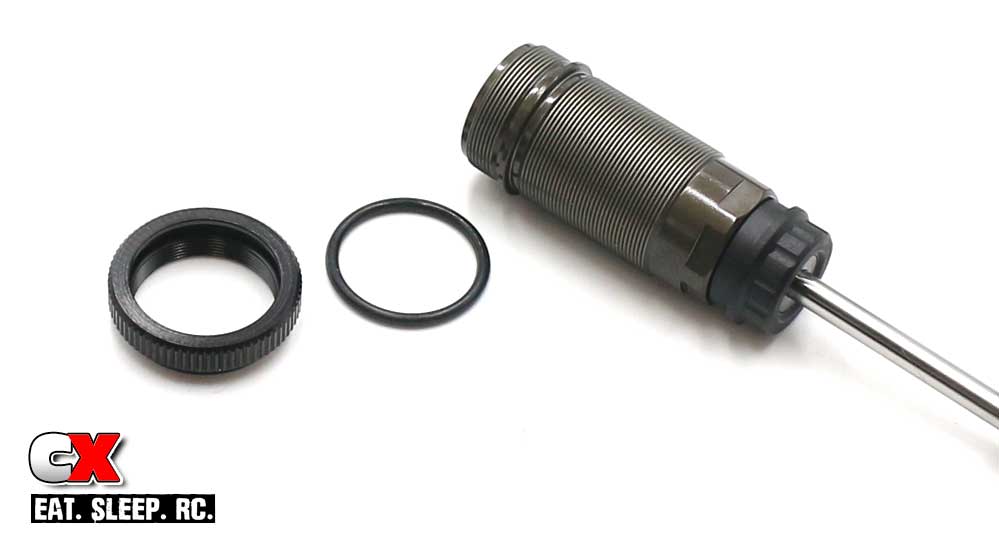
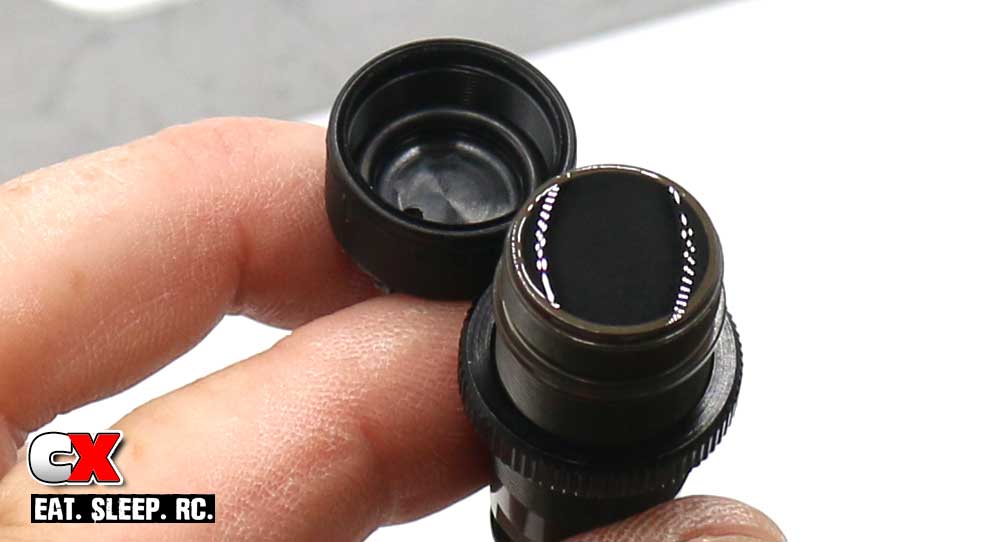
Fit the larger o-ring into the collar and thread onto the shock.
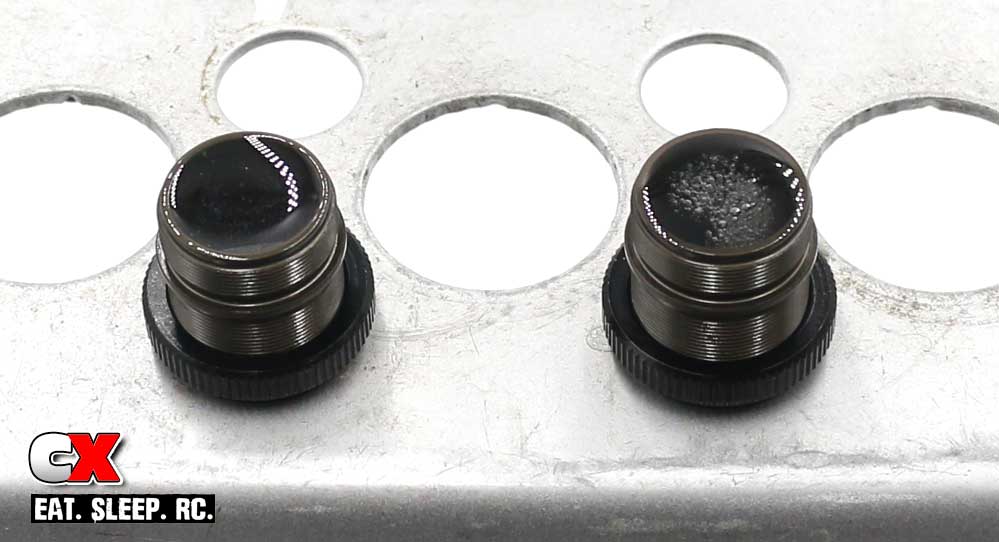
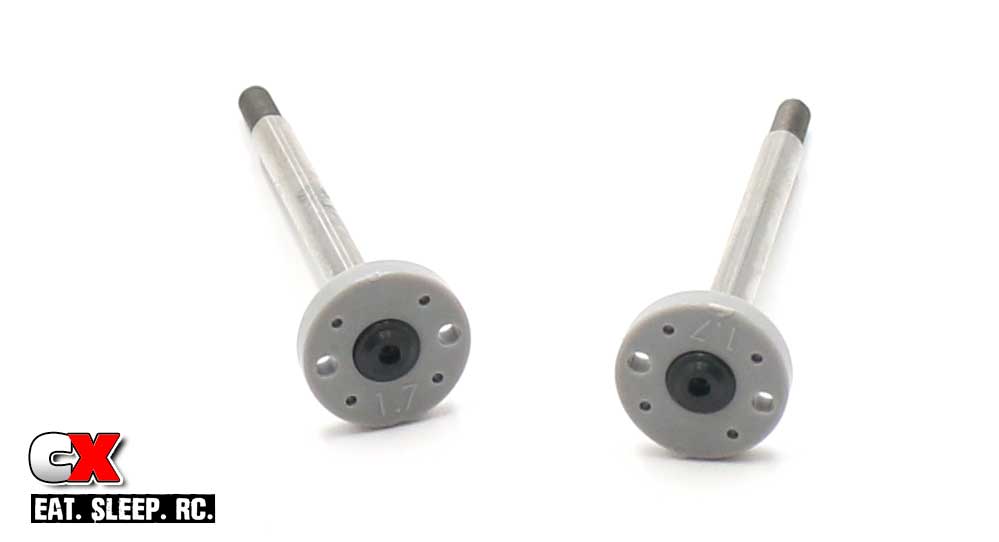
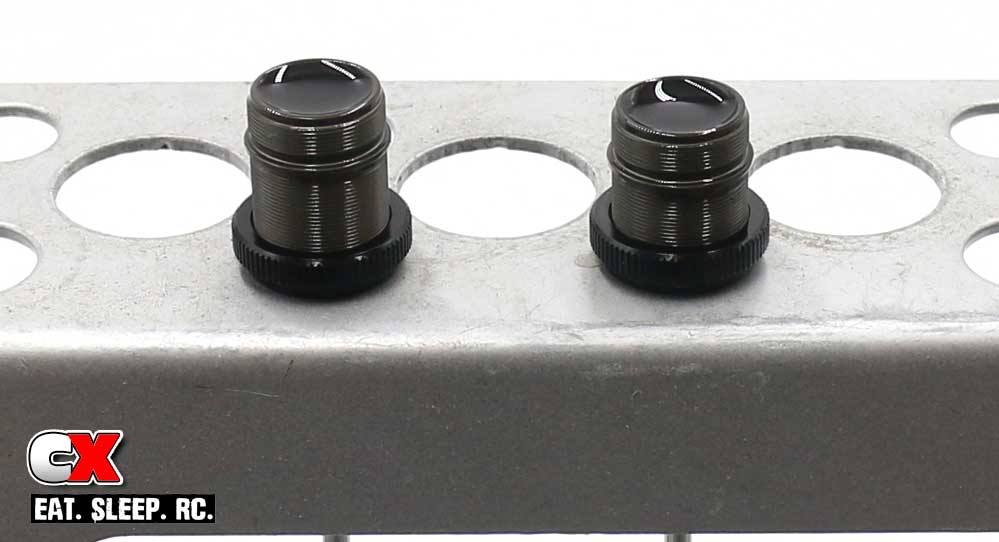
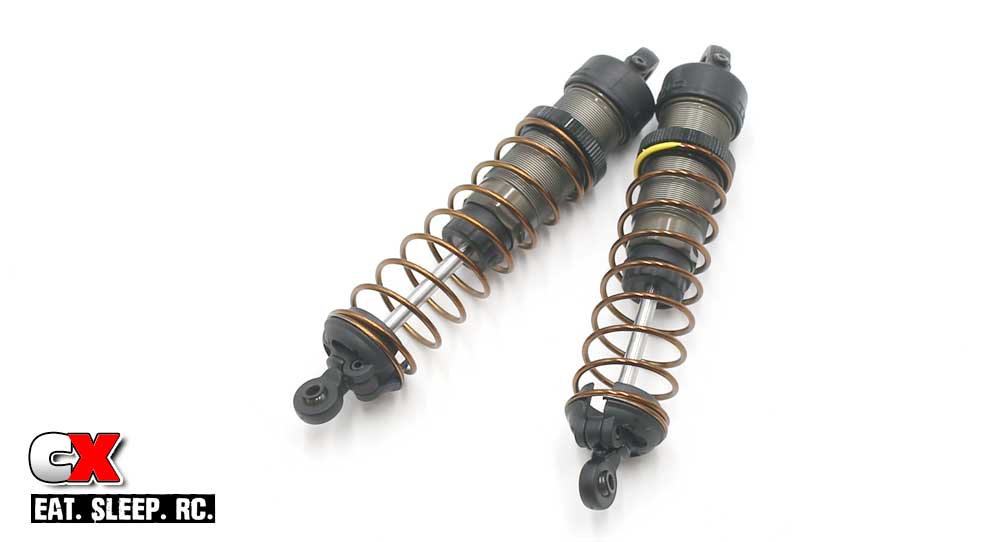
Fill to the top with the #550 oil. Slowly work the shock shaft up and down a few times to release any air from the bottom of the shock, then place in a shock stand for a few minutes. You can see from the picture that the left shock is free of air, the right still has air bubble rising.
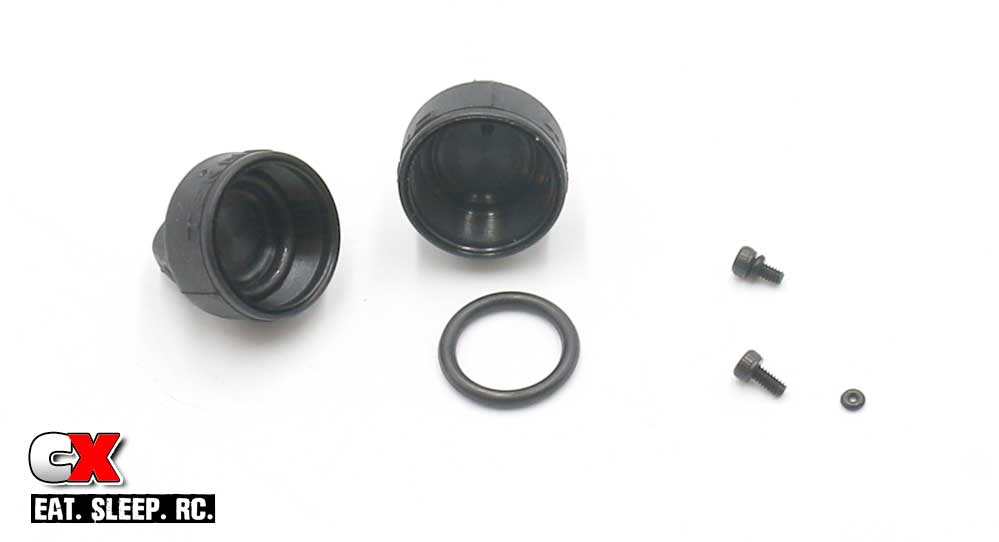
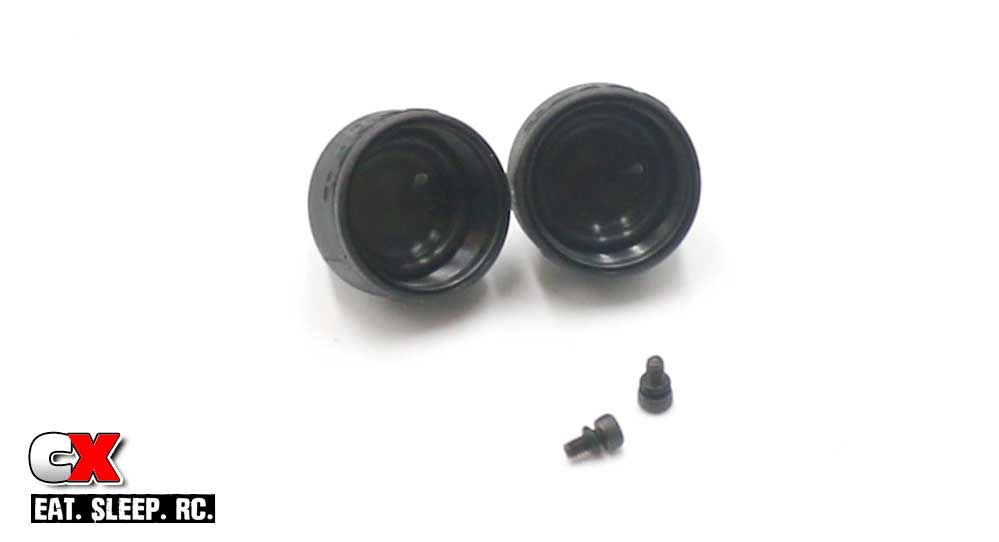
While you’re waiting for the oil to rise, we can prep the other parts. Fit the medium o-ring down into the shock cap. Next, fit the teeny tiny o-ring over the M2x4mm screw. Patience is key here – this little bugger is a bit of a pain. I suggest washing your hands with soap and water prior to trying this. Any oils or fluids on your fingers will make this almost impossible.
Once all the bubbles have left the shocks, refill to the top. A light ‘crown’ is a good place to start the oil at.
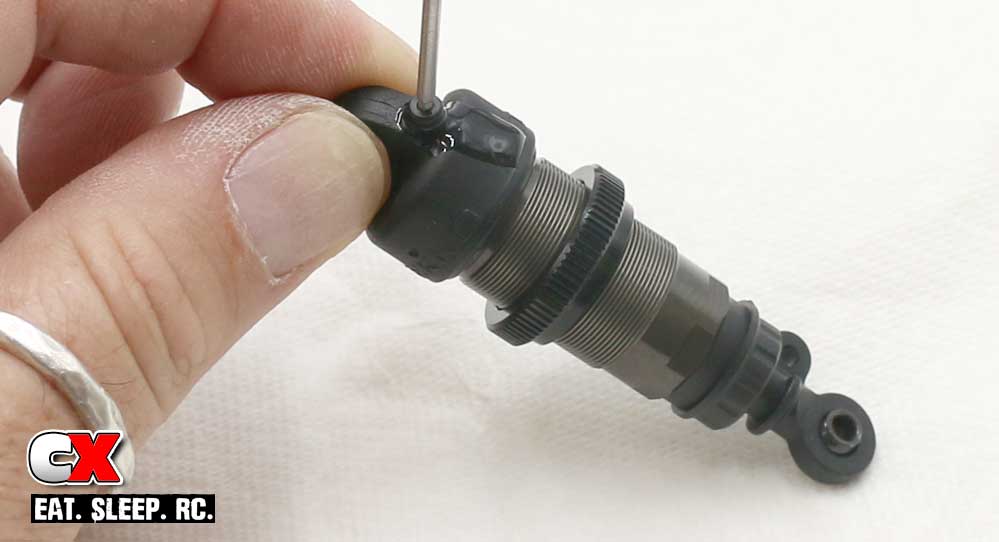
Thread the shock cap on, tilting the shock to the side to keep the fluid from rushing out the hole. Now fully compress the shock – you’ll see fluid seep out the hole. Cap off the hole with the o-ring equipped M2x4mm screw. Clean off any of the excess shock fluid.
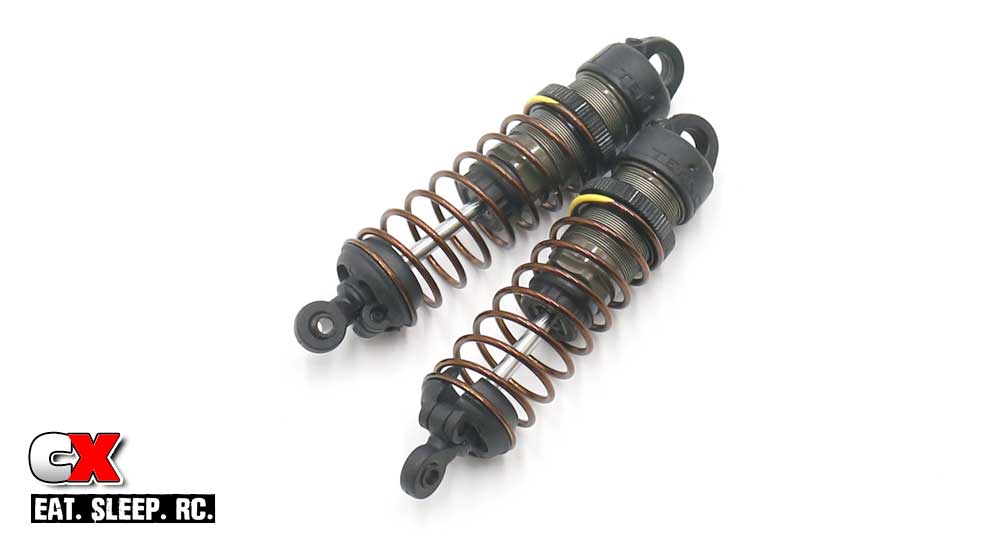
Insert the spring and spring perch. Use the M3x8mm setscrew through the spring perch to keep it secure on the shock.
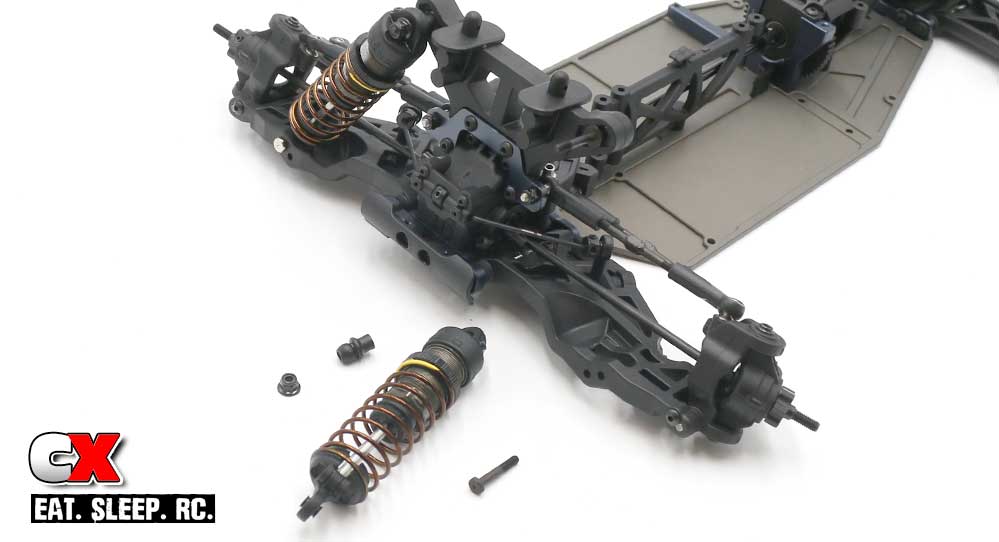
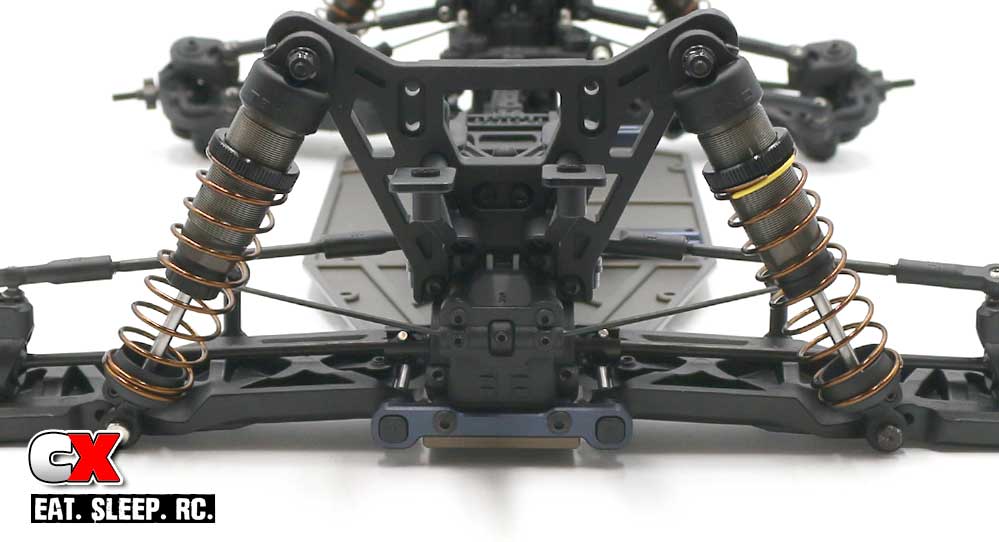
Attach the shocks to the front of the ET410; middle hole in the tower, outside hole on the arm.
You’ll also notice a silver and black lower shock screw; the silver is an opposite thread, meaning you have to turn it to the left to tighten it (when installed on the right side of the car). The black screw is normal thread, meaning you have to turn it to the right to tighen it (when installed on the left side of the car).

Your completed front shocks.
The rear shock build is exactly the same as the front. Build the shafts, install the o-ring, build the cartridges. Oil on the threads, slip it through and install the shock ends.
O-ring in the collar, thread the collar on and fill with #350 oil. Plunge the shaft up and down a few times to release any oil, then set aside.
Build the caps and bleeder screws.
Refill the shocks, install the caps, compress and cap the bleeder hole. Wipe off any excess oil, install the springs, perches and M3x8mm setscrew.
Attach the shocks to the ET410; silver screw on the left, black screw on the right.
Boom – DONE! At the end of the build you can set the ride height and such, but for now, clean up any excess oils and lets get to the next step – the electronics!
Tekno ET410 Truggy Build – Opening Page
Tekno ET410 Truggy Build – Part 1 – Differentials
Tekno ET410 Truggy Build – Part 2 – Front Bulkhead
Tekno ET410 Truggy Build – Part 3 – Rear Bulkhead
Tekno ET410 Truggy Build – Part 4 – Rear Suspension
Tekno ET410 Truggy Build – Part 5 – Front Suspension
Tekno ET410 Truggy Build – Part 6 – Chassis Assembly
Tekno ET410 Truggy Build – Part 7 – Shocks
Tekno ET410 Truggy Build – Part 8 – Electronics
Tekno ET410 Truggy Build – Part 9 – Final Assembly