
Tekno’s ET410 will accept almost all 1:10 scale electronics, with some guys already installing 1:8 scale systems. I went with the same gear I used in my EB410 – simply because it worked, it’s fast and it fits!
We have the following installed:
• #FUTK4908 Futaba 7PX 7-Channel Transmitter, www.futaba-rc.com
• R1 Wurks Digital Low-Profile Drive Servo, 80mm Wire, www.r1wurks.com
• R1 Wurks 6000mAh 2S LiHV Graphene Shorty LiPo Battery, www.r1wurks.com
• R1 Wurks Digital-2 200A Brushless ESC, www.r1wurks.com
• R1 Wurks 10.5T V15 Brushless Motor, www.r1wurks.com
 The manual shows the battery posts to the rear of the car; this is fine and dandy, but you won’t be able to plug (or unplug) your battery without completely removing the pack. Option 2 is to flip the battery and shorten the wires.
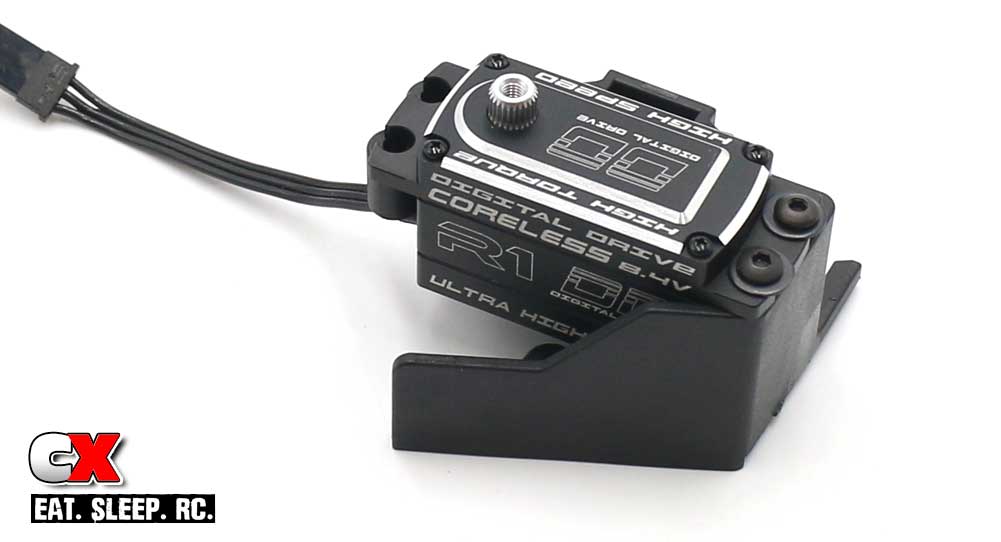
Let’s start off by installing the servo. Attach it to the mount as shown. Note the orientation of the output shaft on the servo.
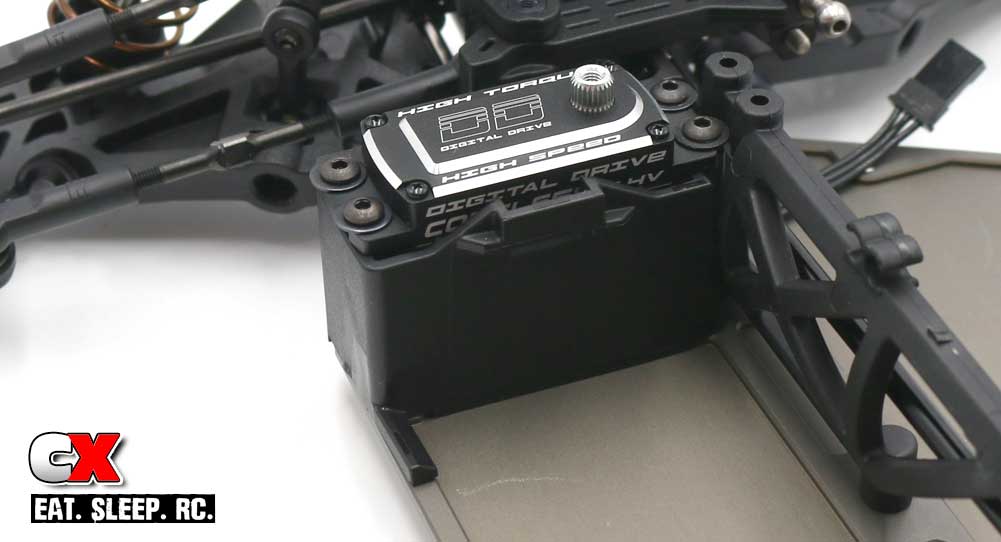
Attach the servo assembly to the chassis. You’ll also want to make sure that the servo lead feeds to the opposite side of the car.
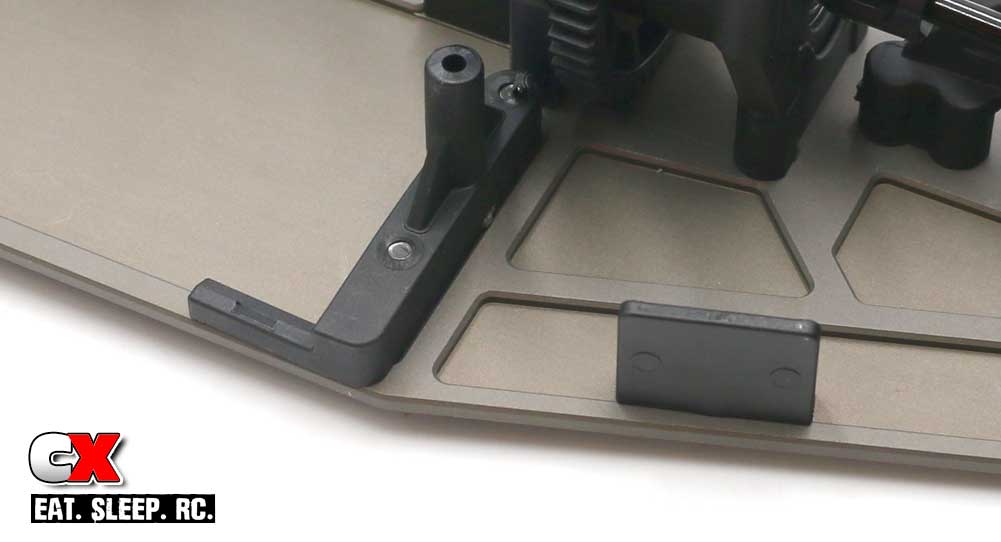
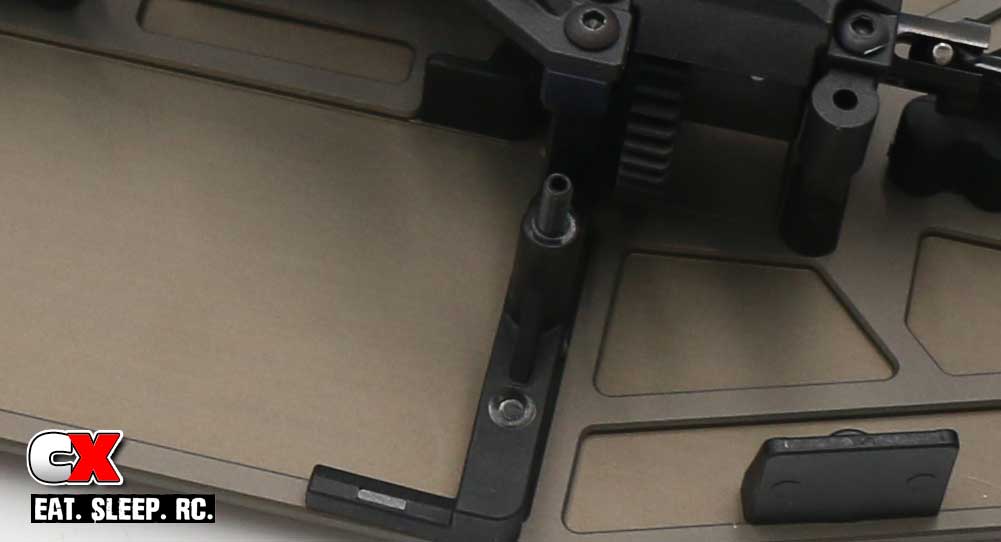
Install hte battery tray/battery strap mount. If you’re going to be using Velcro, install the Velcro body mount.
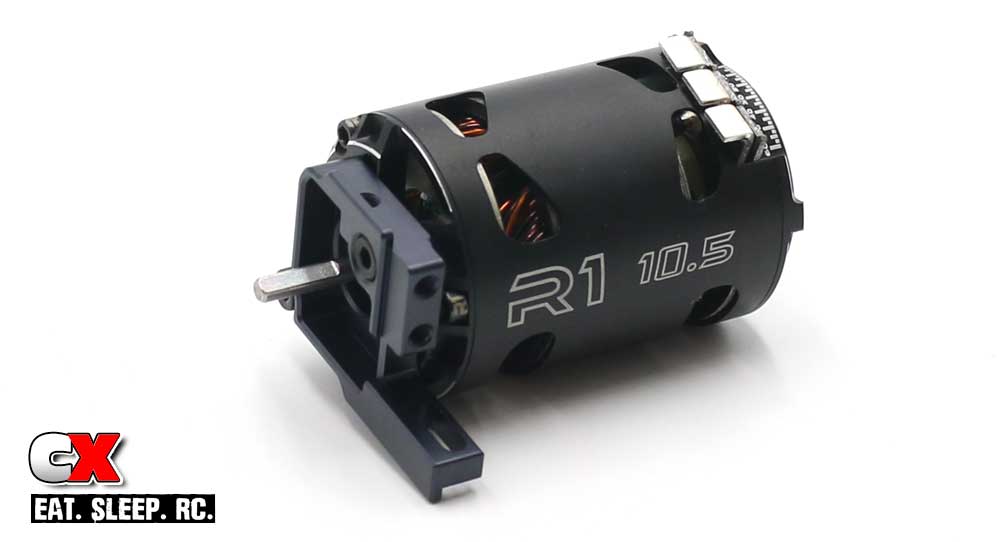
Attach the motor to the aluminum motor mount. Blue threadlocker is suggested here.
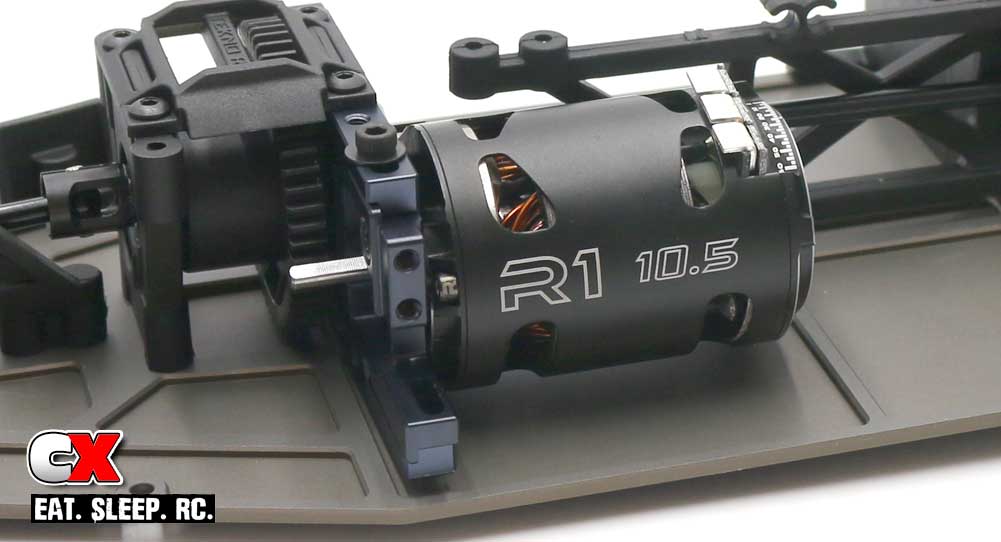
Slide the motor mount into the center aluminum bulkhead and secure with the M3x10mm screws (and washers). Blue threadlocker is suggested here. Note the orientation of the motor tabs. You’ll want to make sure they are easily accessible.

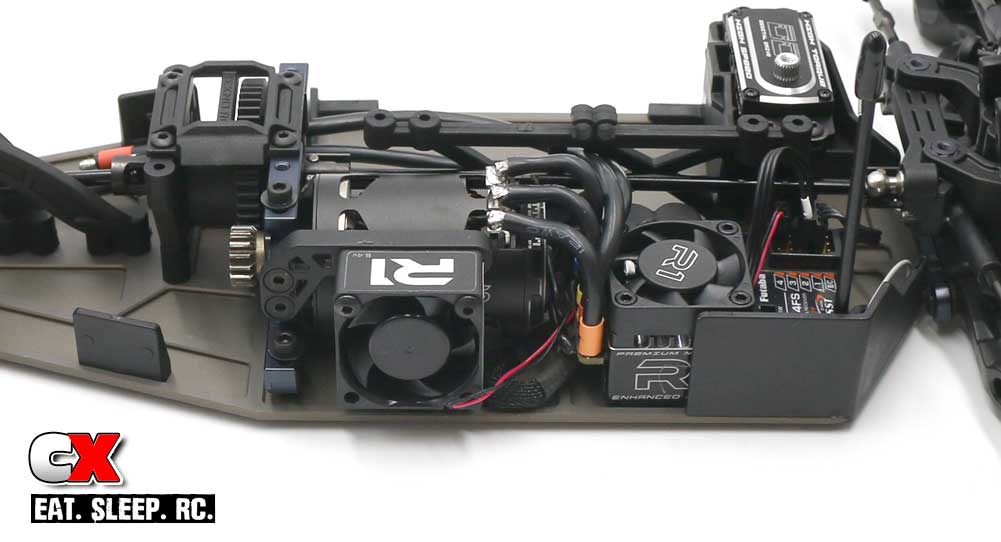
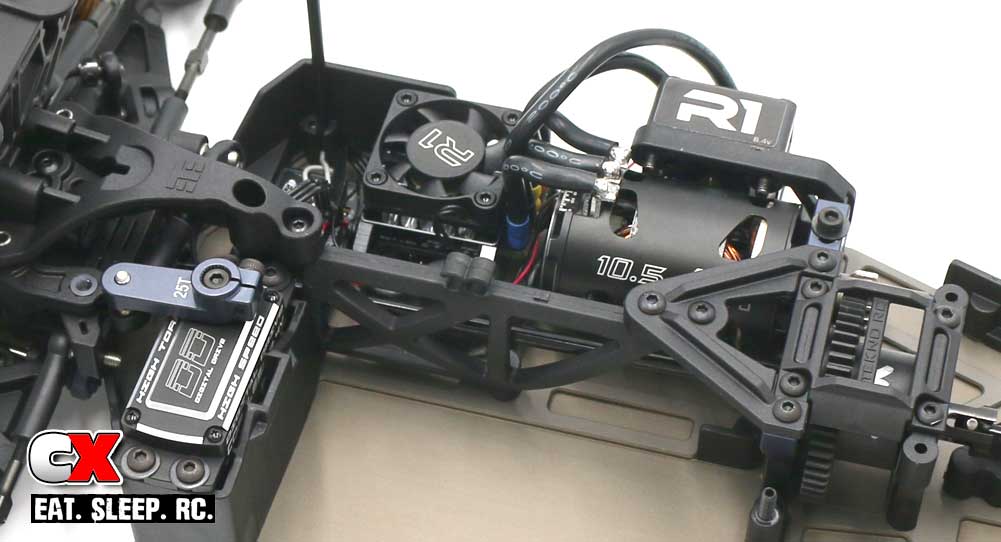
From here on out, the electronics install is up to you. I’ve installed mine like this so you can get an idea of where they go; your install might vary. I’ve also attached a fan and fan mount to the motor mount.
I would also test fit the splash guard from Step 7 to make sure your electronics install doesn’t interfere with it.
Once you get your electronics installed, attach the front splash guard and rear Velcro body mount. Don’t forget your antenna tube and cap in this step as well.
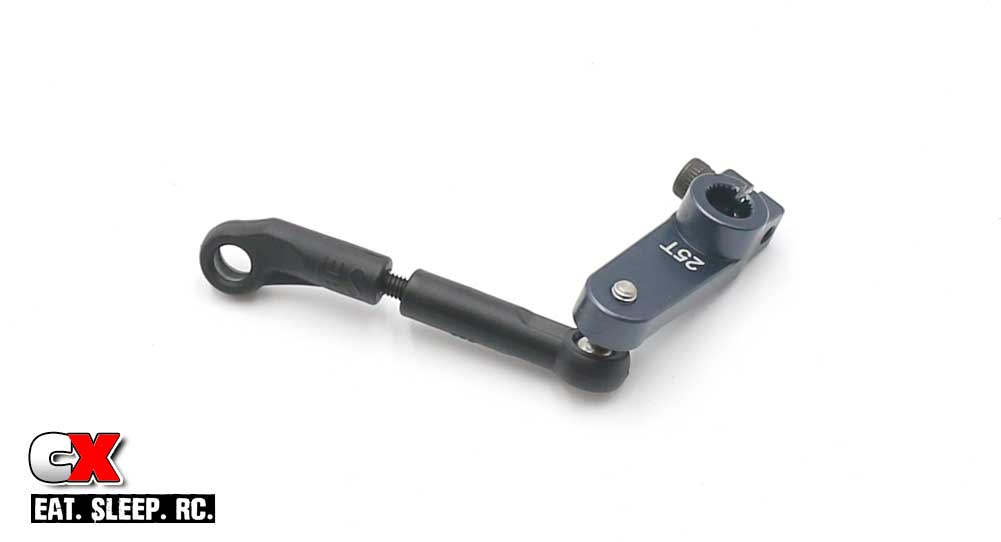
Build the servo horn and drag link. The kit comes with a plastic servo horn but, from past experience, upgrading to Tekno’s Aluminum 25T Servo Horn is must.
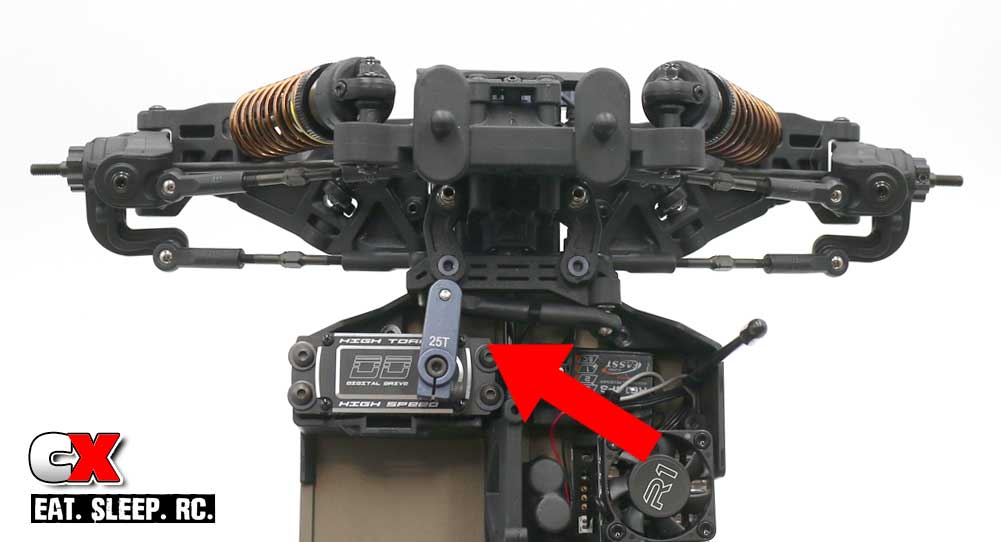
Attach the servo horn assembly to your ET410. Note the red arrow; this calls out Tekno’s ‘4° from 90’ horn placement.
Add the M3x18mm setscrew.
Attach the front and rear braces that support the center chassis brace.
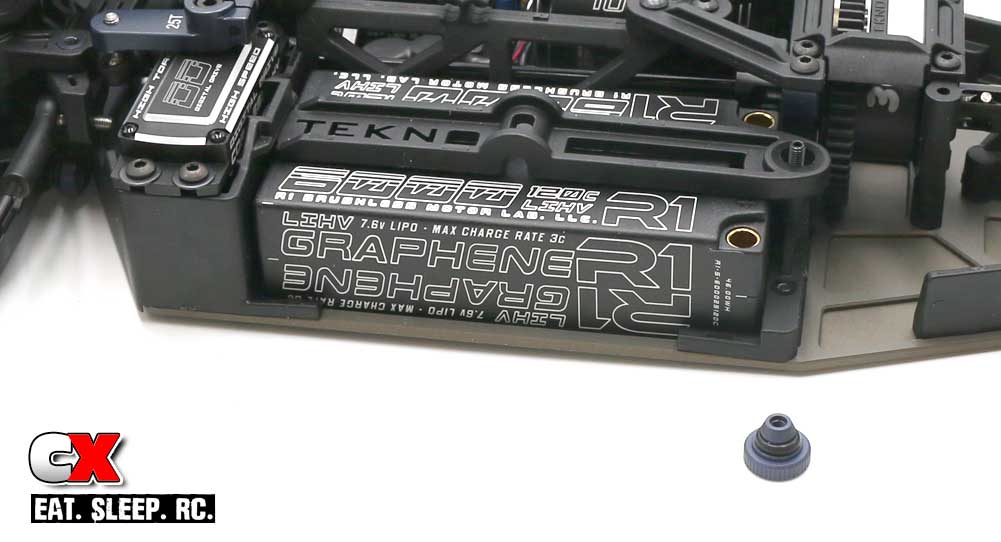
Slip the black o-ring over the bottom part of the thumbscrew. Drop your battery into place and secure with the battery strap and thumbscrew.
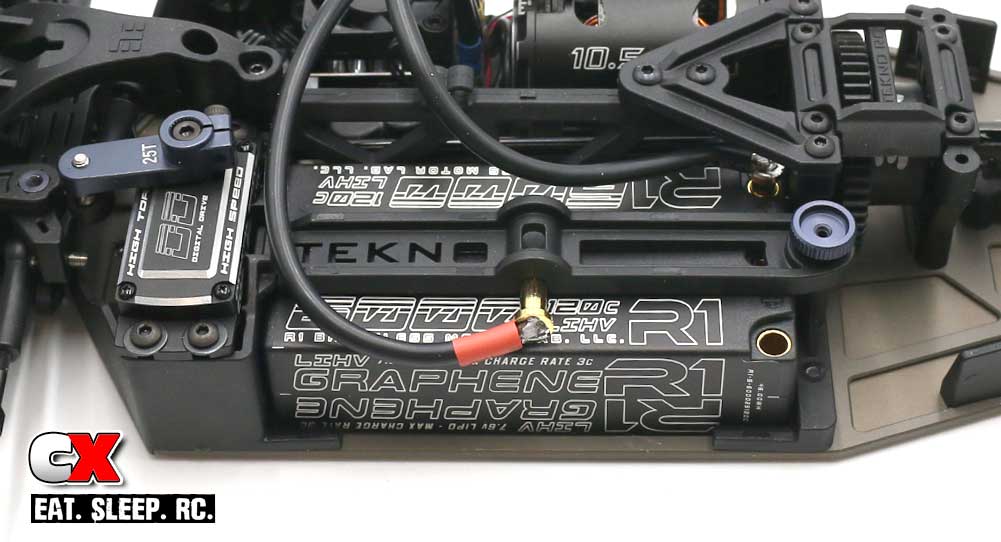
Plug in your pack and you’re ready to rock and roll!
At this time, you might want to fire up the ET410 to make sure everything is working as it should. Would hate for you to get to the track and something has been installed incorrectly…
Ok, on to the final assembly steps…
Tekno ET410 Truggy Build – Opening Page
Tekno ET410 Truggy Build – Part 1 – Differentials
Tekno ET410 Truggy Build – Part 2 – Front Bulkhead
Tekno ET410 Truggy Build – Part 3 – Rear Bulkhead
Tekno ET410 Truggy Build – Part 4 – Rear Suspension
Tekno ET410 Truggy Build – Part 5 – Front Suspension
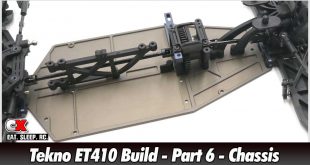
Tekno ET410 Truggy Build – Part 6 – Chassis Assembly
Tekno ET410 Truggy Build – Part 7 – Shocks
Tekno ET410 Truggy Build – Part 8 – Electronics
Tekno ET410 Truggy Build – Part 9 – Final Assembly


Where does the motor fan plug into for power?
It comes with a two-wire plug that feeds it’s way to an open receiver port. So, it’s best if you have at least a 4-channel receiver – P1: Servo, P2: ESC, P3: Fan, P4: Transponder (if you’re going to race this thing!