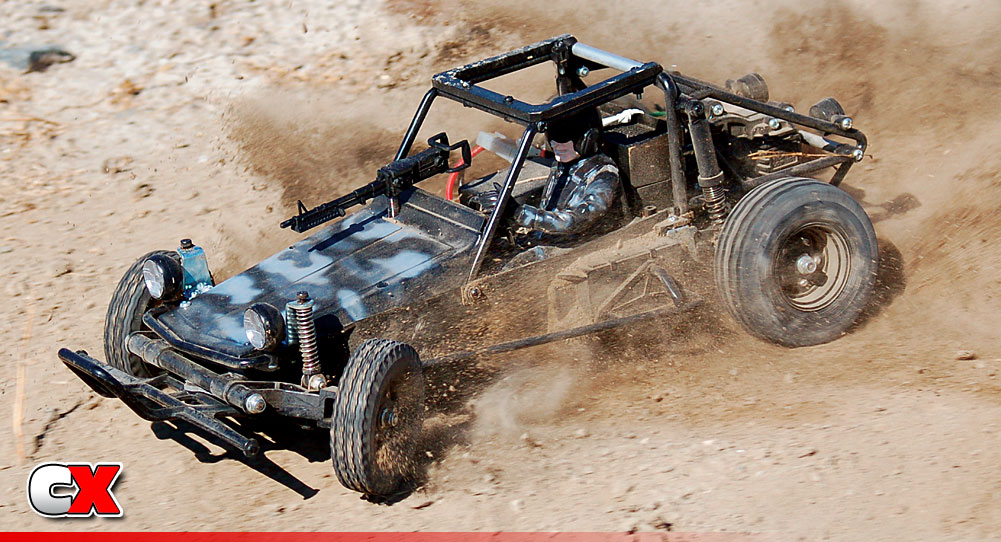
There are two types of people in every hobby; those that do it for fun and those that do it to win. For example, let’s look at motocross. There are those that want to just go out to the desert and ride and there are those that want to go out ANYWHERE and race. That’s pretty much the same thing with RC. Today, folks, we are going to switch gears and have a look at a fun buggy, Tamiya’s Fast Attack Vehicle. No racing, no competitions and no double back-flips off the big jump. We are heading out and doing what everyone in this hobby started it for…to have fun. So put away those high end radios and stopwatches and let’s hit the dirt!
AT A GLANCE
WHO MAKES IT: Tamiya
WHO IT’S FOR: Everyone
HOW MUCH: $170
BUILD TYPE: Kit
FACTS
– First off, who remembers this vehicle from WAY back? I do, and while it wasn’t one of my first RC cars, it was one of my favorites. I always enjoyed the killer look of the dune buggy, driver figure and M60 machine gun bouncing around on the spring. That alone is worth buying it!
 – The FAV has a fully enclosed gearbox that houses a pair of stout transmission gears. The gear differential is rock solid and can easily handle the Mabuchi powerplant.
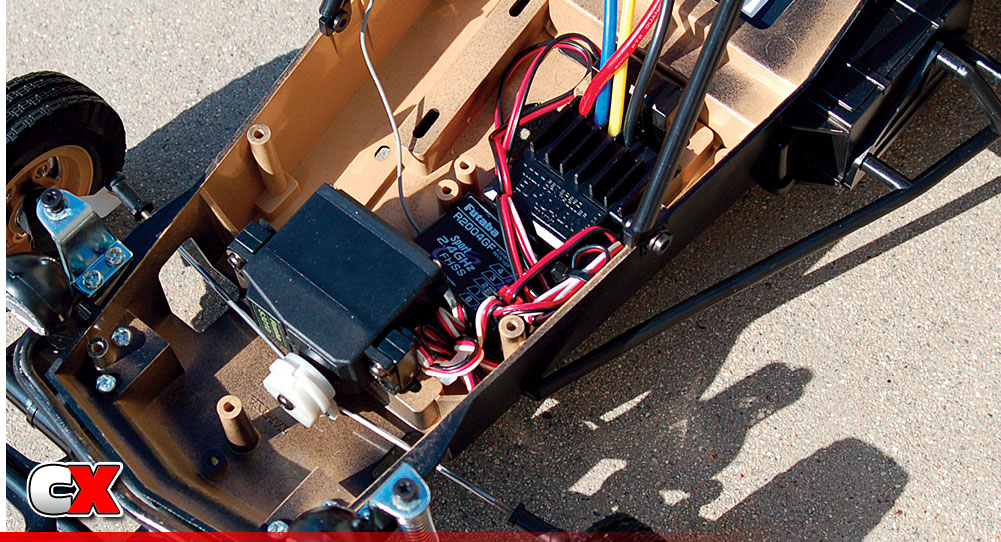
– The chassis is a made of a thick ABS resin that has a considerable amount of room for electronics. The TEU-104BK fits nicely in the chassis with plenty of room for any of the smaller receivers on the market.
– The independent suspension features swept-back front arms and a trailing-rear arm design. Rubber boots cover up the dogbones to help keep any dirt or debris out of them. Spring-loaded shocks mount to all four corners and, while they’re not made to soak up the bumps, they do provide some fun bouncy action that actually looks pretty cool. Like the original, even the spring loaded M60 bounces around.
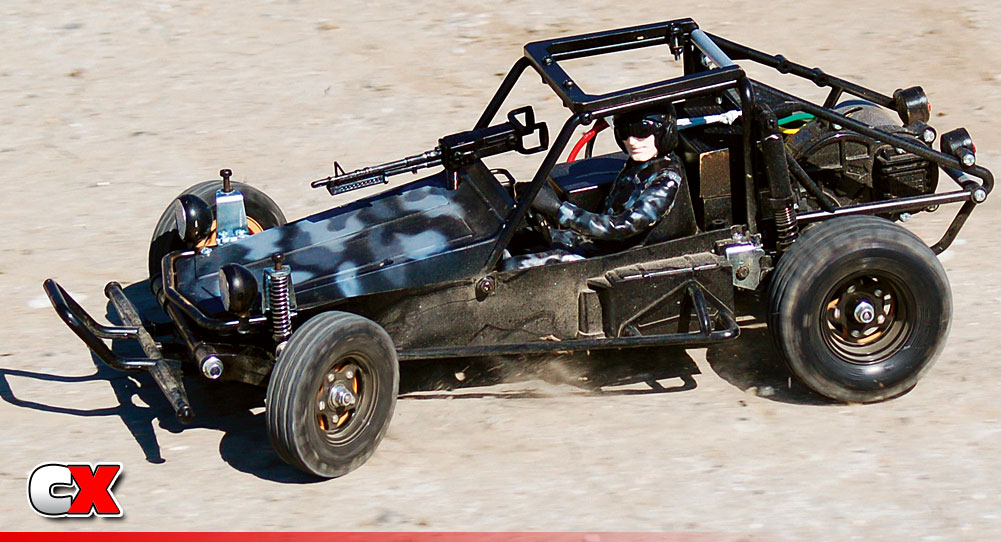
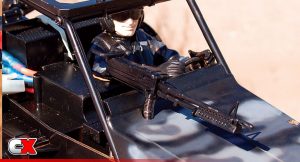 – The Fast Attack Vehicle is manned by a plastic soldier. He is protected by a realistic cage that also protects the gearbox and motor. I decided to go with a Black Ops theme, so my buddy Charlie from CFX Paint gave the entire FAV a coat of black paint with some camo treatment on the hood. The driver’s suit and helmet also got a little camo love.
– The battery fits into a tray that is molded to the underside of the chassis. Removing two body clips is all it takes to drop the door down to replace the battery.
ITEMS INCLUDED
• Wheel wrench
• L wrenches
• TEU-104BK ESC
• 540 Mabuchi silver can motor
ITEMS NEEDED
– Steering Servo
– Transmitter and Receiver
– Battery Pack
– Charger
ITEMS USED
+ Futabe S3010 Servo
+ Futaba 3PL Radio System
+ DuraTrax Onyz 5000mAhNiMh Battery Pack
+ DuraTrax Onyx 245 Charger
PROS
• The price
• Quick and easy build
• A little extra detail work can make this a really cool project
• Included ESC and Mabuchi motor help keep the costs down
• Durable, ABS plastic used throughout to increase durability
• Long wear rubber tires have good grip on the asphalt and the dirt
• Looks really cool when complete
CONS
• Wish it would have some sort of suspension damping
• A LOT of screws to remove if you need to get to the electronics
PLAY TIME
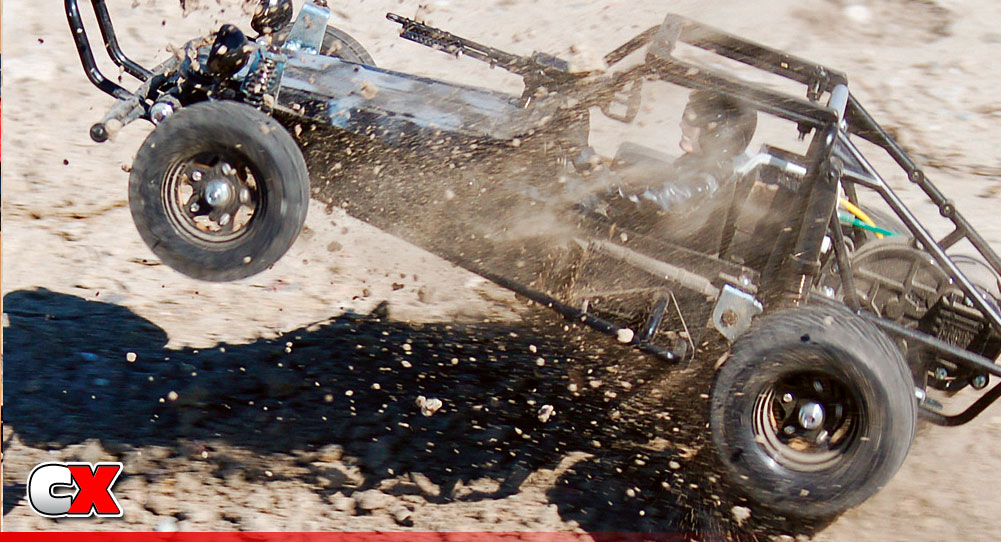
Before heading out to a local field near my house, I quickly charged up a pair of Duratrax 5000mAh NiMh batteries on my Onyx 245 charger. This charger rocks as it allows you to charge two packs at one time. This certainly makes it easy to get more than one pack ready before testing. After they were charged, I loaded up the FAV and headed to the field. Since it’s not a race vehicle, I was able to simply arrive and drive. Turn on my 3PL, turn on the FAV and let’er rip!
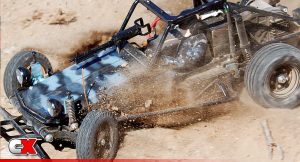 First impressions were that the suspension was a bit bouncy, but after seeing this thing run across the field, I didn’t really care. This open-caged buggy looks awesome as it leaves plumes of dust behind it; running through the weeds and over the rocks. The tires do a good job of piloting the FAV around and have a tread pattern that is capable of kicking up quite a roost. It’s surprisingly fast, too, in fact much faster than I had anticipated.
Bombing around the field I found this cool little hump and thought I’d give the FAV some air time. I got a good start and, after hitting this hump, watched in horror as the FAV did 4 or 5 end-over-end tumbles. I ran over and gave it a quick inspection: Driver; check. Machine gun; check. All four tires still on and no parts dangling; check! Awesome…we’re good to go!
THE LAST WORD
I enjoy driving just about anything RC. What’s even more fun is when you do it and people outside our industry dig it too. What I didn’t mention before is that I did my testing on a Sunday afternoon in an open field that is next to a church. I had to have had 10 cars stop and ask me what vehicle I was driving, and that it looks so realistic out in the field. I answered with “Well, it’s Tamiya’s Fast Attack Vehicle!” They loved it, asking me the price, how much work it is to build, how fast does it go, etc. My mini-photo session turned into a full blown product endorsement, but that’s ok. I mean really, what did I expect from such a cool ride?
LINKS
Tamiya, www.tamiyausa.com, (800) TAMIYA-A
Futaba, www.futaba-rc.com, (217) 398-8970
DuraTrax, www.duratrax.com, (217) 398-8970
 CompetitionX CompetitionX is the most up-to-date source for RC Car News, Reviews and Videos for Radio Control. We also have the most comprehensive Manual Database on the web.



Great review of the FAV. I’ve become enthralled with this little buggy, and for some reason must have one.
I’m an RCer that does it for fun. I bash on the track sometimes, but I do it with a Duratrax VW Baja Bug…so clearly, I’m not in it to win it.
I’m thinking of doing up an FAV and trying to do it as close to the box as I can. Should be a fun project!!!
Hey Jeff.
I’m as competitive as the next person but I have the same feelings as you about the FAV. I had to have one so I feel very lucky to have the chance to review it. If you do end up getting one you’re going to love it. It’s pretty fun and looks so cool driving around. Good luck and shoot me some pix when you get it built.
Tony
To Tony
I just ordered a Tamiya Fast Attack Vehicle. Looking forward to building, and running it.
Thanks for doing the write up for it.
Hey Ben.
Glad you liked it. The Tamiya FAV was one of my favorites when I was a kid so I was glad to see it come back. Fun car…hope you like it!
Tony
Tony-
Just start building my fav and was wondering how you attached the drivers arm to the body. I was thinking maybe crazy glue then was curious if people use epoxy, screws, or other methods to get those arms to stay. Thanks
Hey Domriquie.
I used CA to attach it initially, but then used Shoo Goo to make a nice, strong bond. Make sure you sand the two surfaces you are about to bond first…that will make the CA bond pretty strong to start with.
Go luck!
Tony
I’m terribly late here but I’m just starting in the RC world and I have an older kit. There’s not a hobby within 2 hours of me. The only problem I have is determining a good steering servo size. The two I ordered don’t allow the proper steering adjustment. Which did you use or which would you recommend. My budget is generous but I would like to stay below $50. Thank you!!
Any servo should work in the Fast Attack Vehicle, as long as the size is right (standard servo size). You don’t really need anything wild in that car, but I would suggest maybe something like this from Hitec: https://www.amainhobbies.com/hitec-hs645mg-high-torque-metal-gear-servo-s-jr-z-hrc32645s/p4781. It’s a standard size, has metal gears, ball bearings and will work with Airtronics, JR, Hitec and Futaba receivers. Torque is good (133oz) and a speed of .20 – not great, but plenty for the Fast Attack Vehicle. Best part – only $30! Good luck!